How to Upload PST File in Office 365 – Step by Step Guide
If you are going with Office 365 then you possibly need to get your old mail data with you. If you need Outlook PST files to Office 365 for Mac & Windows OS then read this blog, we are going to import PST to Office 365.
There are several options to do this task, each with its own usage. Small data folder can be done using Outlook itself, for large data mailboxes, an Import Tool (Azue AzCopy) is a better solution. In this blog, we will describe both ways for knowing how to open PST files to Office 365.
Add PST file to Office 365
Therefore, let’s go to start with simplest option. Use Outlook to add PST file. This method is useful only for single/ couple mailboxes. If you already have PST file then its OK otherwise you can follow the given steps to create PST file from your Outlook mailbox data –
- Open MS Outlook & Click on the File Menu.
- Choose the Open & Export option.
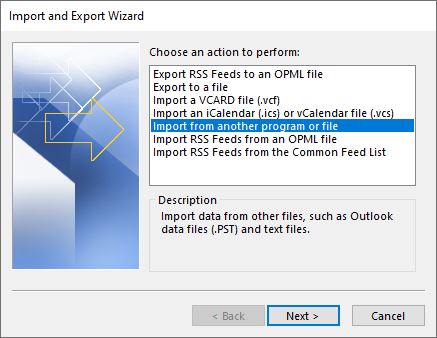
- Go with Import/Export function.
- Choose Import from another program of file (save as default)
- After that choose Outlook Data File (.pst) option. Click on Next button.
- Choose the PST file which you want to save.
- Click on Finish to start importing process.
For adding PST file in O365, your Office 365 account should be configured in MS Outlook then you can get PST file data in OWA but it is dependent upon the size of your PST file and may take time to add all mails. Do this method only if your database is small, having a single or couple of folders. If you have lots of folders with large size then it is better that you go with free Azure Service.
How to Add PST File in Office 365 by Azure AzCopy Tool
If you have necessity to add multiple mailboxes then either you upload then to Azue AzCopy or try shipping drive service from Microsoft. This network service is absolutely free of cost but adding files process may take lots of time.
Shipping drive method will charge you around 2$ per GB of data. Therefore, it may be expensive but is better option, if need to add a pair of thousands of files or more.
Before going with importing process, you are required to allocate the mailbox Import Export role to the Global Admins in MS Exchange Online. You need to wait as it takes up to 24 hours to process this change.
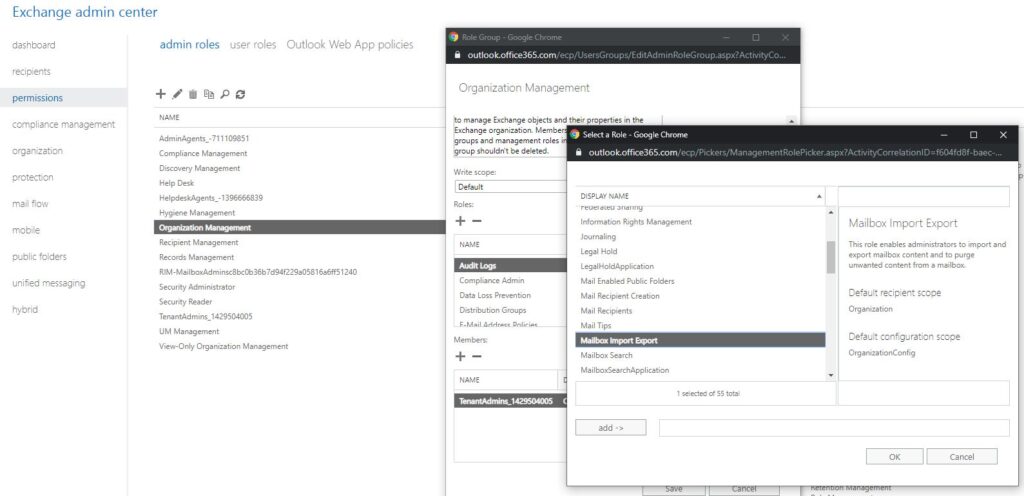
- Go to the Exchange Admin Center via, https://www.admin.portal.com, & go with Permission.
- Go with admin role and open Organisation Management role.
- Hit on the + icon to add a role.
- Choose the mailbox Import/Export role & Hit on Save button.
After that Microsoft provides a message that it can take upto 24 hours before changes are applied. Now logout and close all Microsoft tabs. After all changes are done, log-in again.
Also read:
Generate a new Import Job
With the permissions setting, we can generate a new Import Job. For that go to https://www.protection.office.com & hit on information governance >> Import.
- Choose Import PST File
- Hit on New Import Job option
- Select, if need to add or ship your data. Now we are going to upload it.
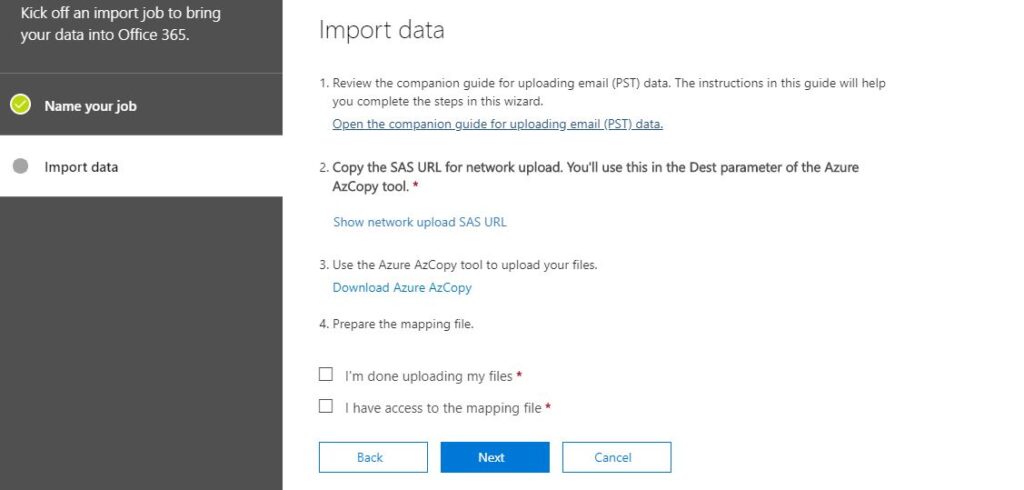
We will get a SAS Url that we’ll need later & download link to the newest edition of the Azure AzCopy tool. Download & install the Azure AzCopy tool & copy SAS Url.
Save the SAS Url securely because it provides you accessibility to the Azure storage where entire PST files are added.
You can also leave this screen, open or hit on cancel & continue later on.
Adding the File with the Azure AzCopy Tool
After the installation of Azure utility, open it. The tool is just like a command-line program to add files.
This tool will add the entire PST files in the source mailbox, as it unlikely to choose a single PST file. Therefore, if you need to take a test with single file, make sure you keep it in a separate folder.
Now use the given command to add files.
AzCopy copy “/path/to/pstfiles” <SAS URL> –recursive=true
If the PST files are saved in subfolders as well, then you can utilize the –recursive=true switch for specifying recursive mode.
You must use quotes on the source & other paths, otherwise an error will appear that this syntax is incorrect.

To know how to upload PST files to Office 365, it will take time depending on the size of PST file.
Verifying the Added PST files (optional)
Once all the files are added, if you want to check them yourself whether they are imported to Azure Storage or not, then download the Azure Storage Explorer & install it.
After that, you launch this Storage Explorer and add an account.
- Hit on Add an account…
- Choose Use a shared access signature (SAS) URI
- Pass SAS URI that we got from the Import Job.
- Click on Next & Connect.
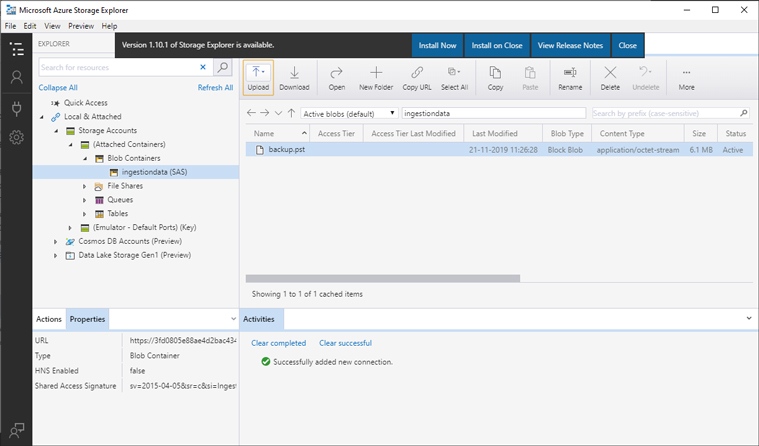
After verifying the PST file, you can close the Storage Explorer. Right click the ingestiondata in the explorer & click on Detach to disconnect. Otherwise, you will get error when trying to open it again next time.
Mapping PST Files
To get mailbox in Office 365, the next step is mapping. Use a CSV file, a template for it can be downloaded here at Microsoft. In this CSV file, you will get a pair of parameters/ columns:

- FilePath- If the PST file is save in root folder, then leave it blank but if PST is saved in sub-folders then provide the name of the subfolder.
- Mailbox – Mailbox you want to import PST file to, in Office 365.
- Workload – To import PST to user’s mailbox, leave it on Exchange.
- IsArchive – Import the PST file to user’s online archive mailbox. You can also set it to true/ false.
- Name – Name of PST file
- TargetRootFolder – If you don’t provide the target root folder name then the files will be saved in Imported named new folder, in users’ mailbox. If you need to save and merge all data in defaulted folders then you can use a/.
Note – you can ignore other fields, by just leaving them empty.
Completing the Import Job
After mapping all PST files, we can Complete the Import job. Go back to protection.office.com. open the Import Job.
- Choose I am done adding my files & I have access to the mapping file.
- Hit on the Next button. Choose the mapping file (CSV file)
- Hit on the Validate option to validate the csv file.
- Hit on the Save option when the validation is finished.
Your new Import Job will be analyzed, before starting the import process. Importing time will depend on your file size. Click on refresh button to check the status.
After that we can import PST to Office 365.

Hit on the Ready option to add to Office 365 and start import process. In the next screen, click on import to Office 365. Now you can filter data such as only mail from X years old or exclude all mails where the users are in the CC. When you have done filtering or need to import all data then click on Import data to begin the Importing process.
This importing process by self may takes your lots of time. For this blog, I handled 6 MB PST file & after 30 min. the status was still on import in Progress. The good fact is that you don’t need to wait on it, simply close the screen & check back later.
Automated Solution to Import PST files to Office 365.
If you don’t have much time for importing PST file to Office 365 by manual method and need urgent solution then you can go with BitVare PST Converter for Mac & Windows that has launched to quickly & perfectly import PST file to Office 365 in few simple steps. It works smoothly and provide exact PST to Office 365 migration result in few steps. To know how to directly import PST file to Office 365 account, follow the given steps –
- Firstly Download the PST Converter for Mac & Windows OS


- After downloading, installing the software, select PST files by provided Add Files option.
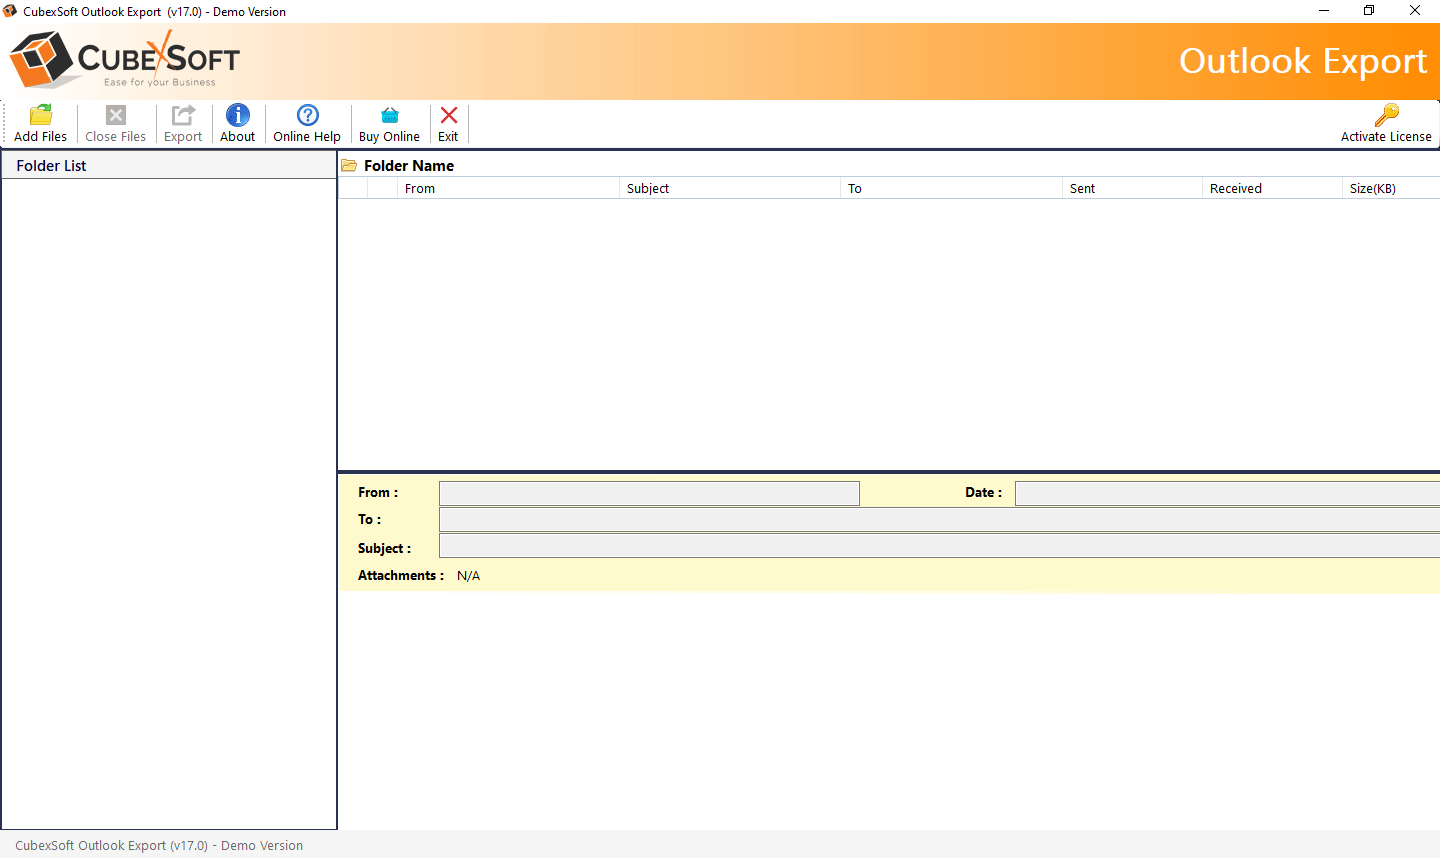
- It selects all data in tree structure, you can view all data in right side of the software screen.
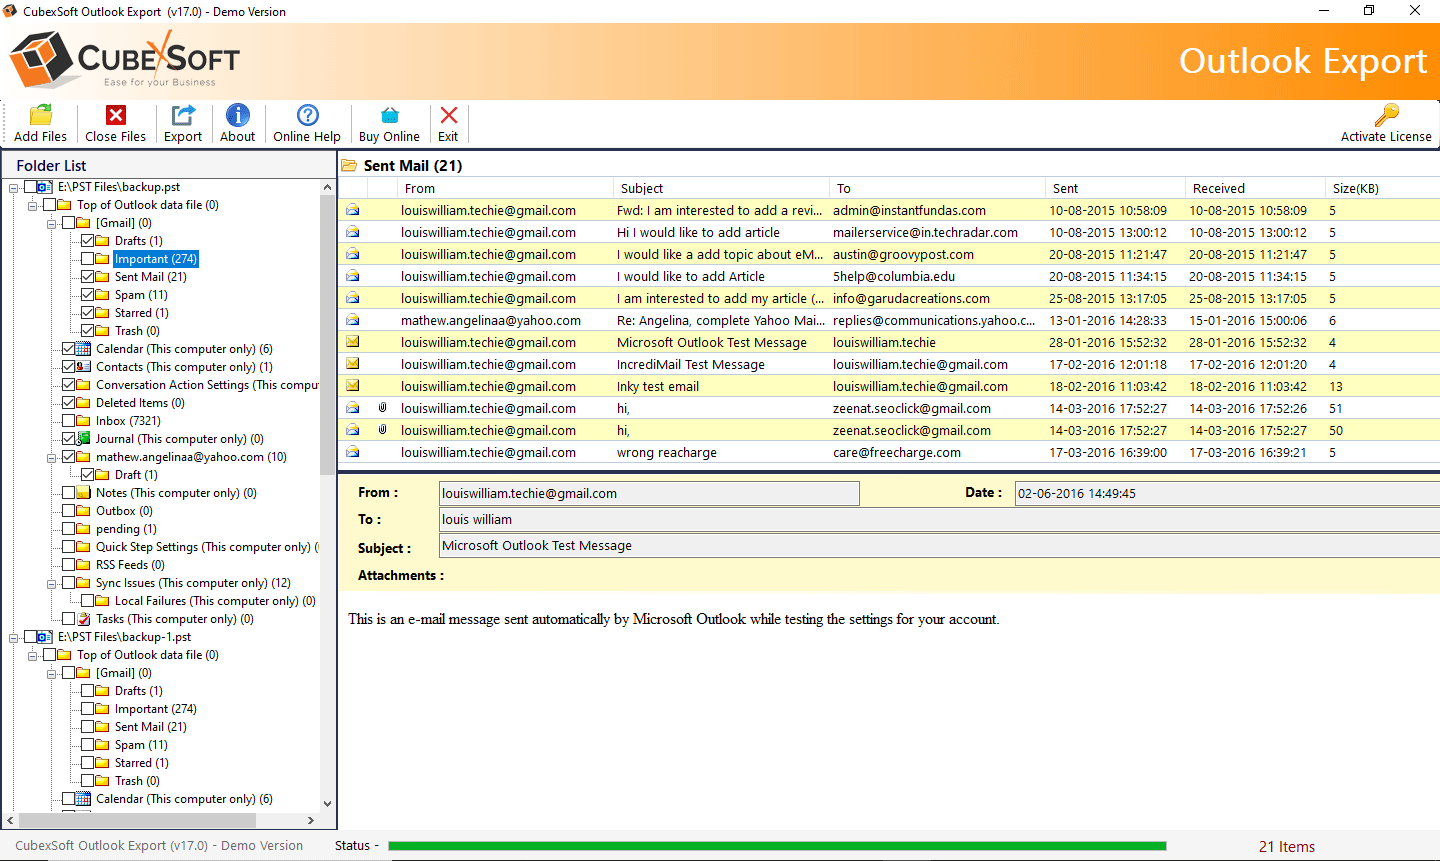
- Now go with Export option and choose Office 365 as your saving option.

- Now fill login details of the Office 365 and choose categories, filters option. Then click on Convert button to start the process.

- The migration process will start and also display with green progress bar.

- migration complete with successfully completed message.

After completion the process, you can check your Office 365 account. All PST file data will save in it. If you are not having much time and need for urgent solution to convert PST files to Office 365 account; then get the software and solve all problems for PST to Office 365 migration. It also allows importing 25 emails from PST file to Office 365 at free of cost. You can run the software on Mac & Windows both OS. So try if you are really in need. Talk our experts to clear all problems.
