How to Access OST File in Outlook 365 with Manual & OST to Office 365 Converter
Do you want to learn how to open, import & access OST file in Outlook 365? Then stay on this write up and utilize a manual & OST to Office 365 Converter, both solutions are helpful in different situations to solve uploading issue of OST file in Office 365.
Opening OST file to Office 365 or Exchange to Outlook 365 needs proper management & planning. Accessing Exchange data on cloud Office 365 has lots of benefits i.e., quick data use & no maintenance in downtime. There are lots of users who would like to save it on O365 as it is a useful place to open their offline OST file.
When any user requests Exchange Administrator to export their mailbox data saved in OST files, they cannot save the folders directly in Office 365; because they are cached files on Server & need Exchange / associated profiles. Now we will know about multiple methods of saving OST file to Office 365 therefore, users can go with anyone which suits their conversion requirements.
1 method – Open OST file to Office 365 & Upload them in O365
This method is indirect way to learn how to import an OST file into Outlook 365. First of all, you have to save OST file data in PST then access PST file data in Office 365. Let’s know how –
Stage 1. Save OST file to PST Format
- Launch MS Outlook on your computer screen.
- Hit on the File Menu tab & go with Import & Export option.
- Choose Export to a file option & hit on the Next button.
- Select the “Personal Folder File (.pst)” option & hit on the Next button.
- Choose mailboxes & you can also tick on the “Include Subfolder” option. Hit on the Next button.
- Now click on Browse button & choose saving location for PST file and tick on the “Replace duplicate with items imported” & Click on Next button.
- You can also provide password otherwise skip this option & and click on OK button.
Note – If your Exchange Server is not connected with online server and it is available on offline mode then this process will not execute. You have to go with OST to PST Converter to save OST file to PST.
Stage 2. Import PST file in Office 365 Manually
- Open your O365 account and go with Admin Center.
- Click on Exchange option.
- EMC (Exchange Admin Center) Window will show there, go with “Permissions”
- Now double click on “Organization Management”. A new pop-up window shows there, hit on the + icon & select mailbox import Export option. Hit on Add option & Click on OK button.
- Then choose mailbox import Export option & hit on save button.
- Go with “Admin Center” option & choose “setup”, option & then choose data migration option. Click on “Upload file” button.
- After that hit on the New Import Job option and provide the task name & hit on next button.
- Choose upload your date and click on Next button.
- After that, you can get a new widow, hit on the show Network Upload SAS URL, copy this url & paste it on a notepad.
- Download Azure Azcopy. Click on Run to install the app.
Note; while saving PST file to Office 365, allow the mailbox or file you would like to import & copy the Network path.
- A new window will appear there, click on “Show Network Upload SAS url” launch the MS Azure AzCopy app & type AzCopy.exe/ Souce: Network path or File location/ Dest: SAS url / V: location path where you want to save the log file / AzCopy.log/ Y & press “Enter.”f
- After adding PST file, generate a CSV file to map the PST file in mailbox account.
- Launch import data window, checkmark both options & click on Next button.
- Click on Select Mapping file, choose “Upload CSV file”, hit on Validate & finally hit on the save button.
- Your PST file was successfully added in Outlook, Click on Close button.
To know the manual process of uploading PST file to Office 365 read this blog >> https://www.bitvare.com/blog/how-to-upload-pst-file-in-office-365/
How to Open OST File in Outlook 365 with OST to Office 365 Converter
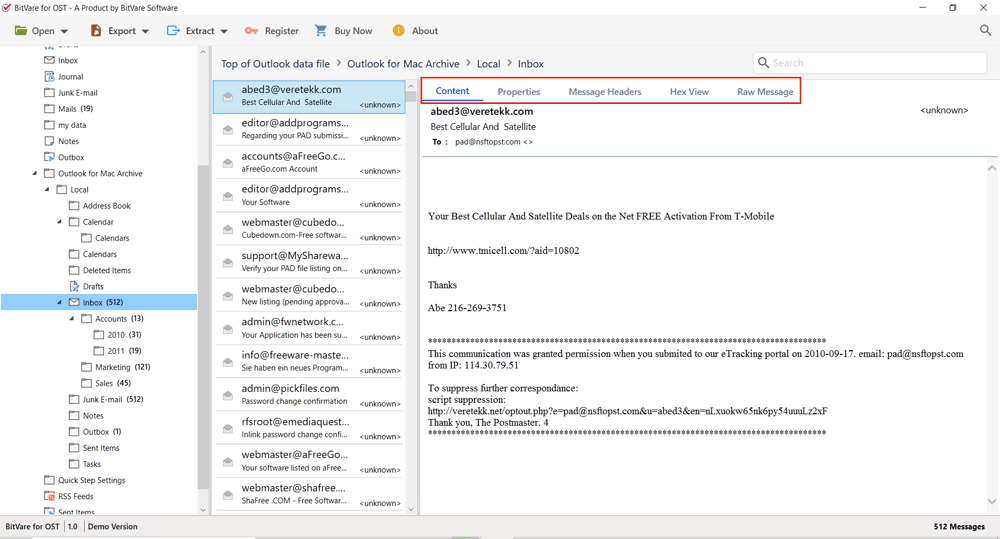
The manual method is very lengthy & takes lots of time. Non-technical users cannot easily follow it to learn how to access OST file in Outlook 365 or how to import OST file in Office 365 directly. If you have urgent need to know how to upload OST file to Office 365 in few minutes then download the BitVare for OST and easily import OST file to Office 365. It can directly import all OST files to Office 365 at once and also provide quick migration solution. The program also provides multiple preview benefits to view OST file data in content, properties, hex view, message header & raw messages. The program is also capable to extract attachments from OST file and save them on your local system. With the OST Converter software, you can easily save OST files data of any Exchange Server, Outlook into Office 365 directly. To know how it works, follow the given steps –
- Download the OST Converter program and launch it on your desktop screen.

- Select OST files from provided option.
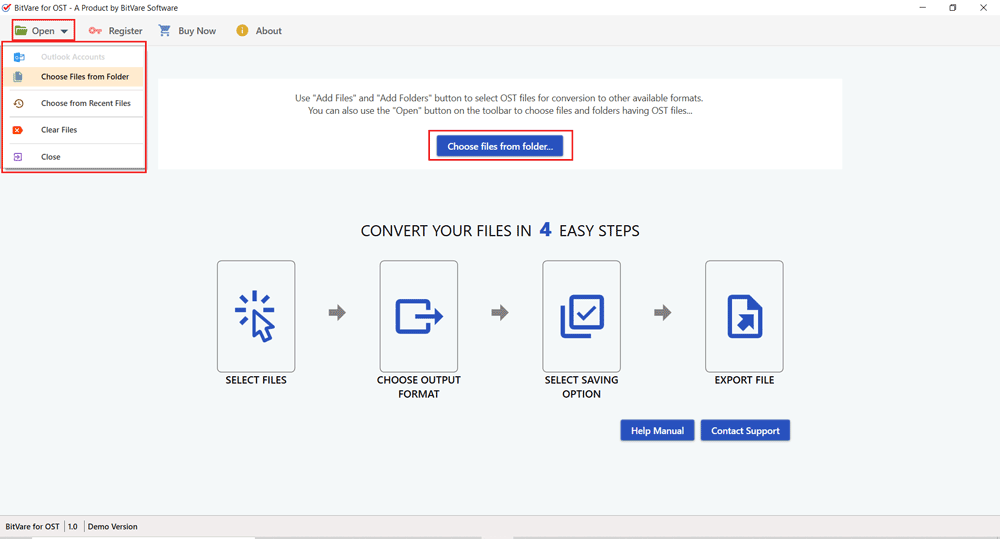
- It lists all selected files and also provide complete preview in multiple modes.
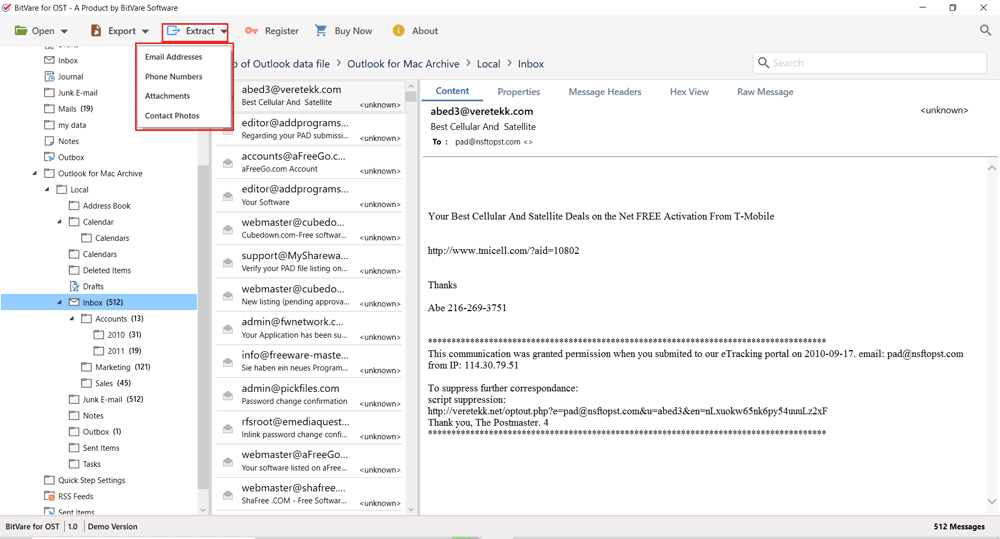
- Then, if you need to save attachments, contact photo, mail address, phone number of emails then go with extract option and do it otherwise skip this option.
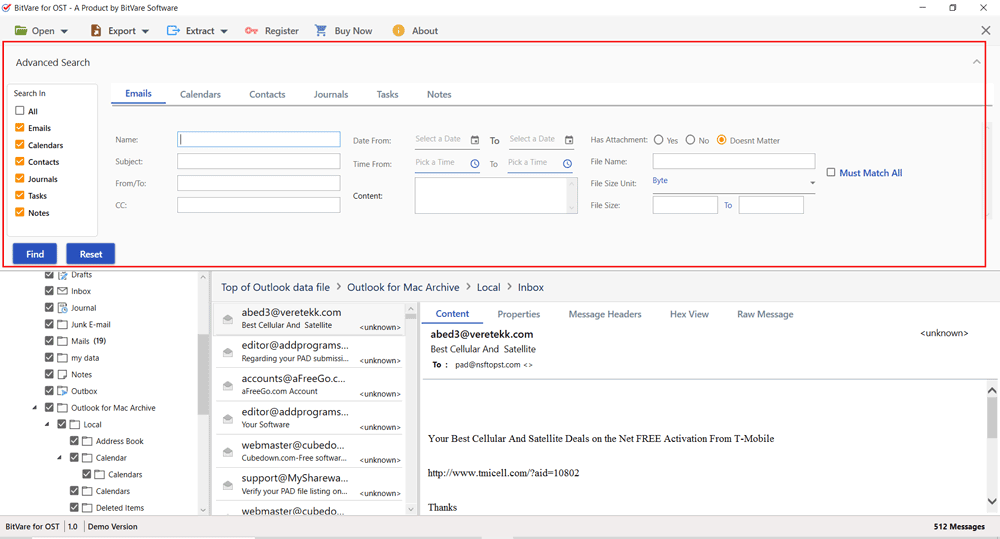
- If you want to save some selected data of OST file then go with Advance Search icon from top right side of the software and hit it. Apply filters to find & select data for migration.
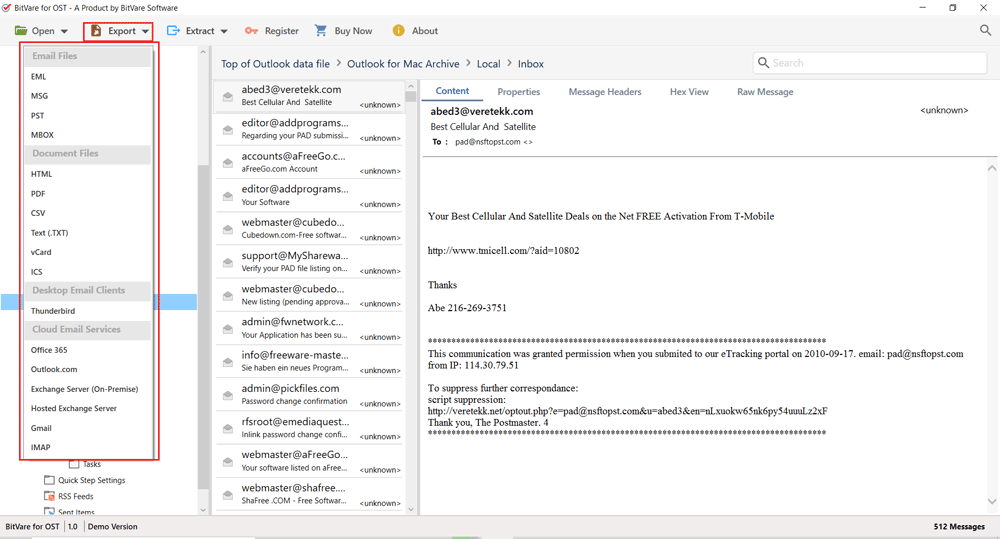
- Go with Export option and choose Office 365 option.
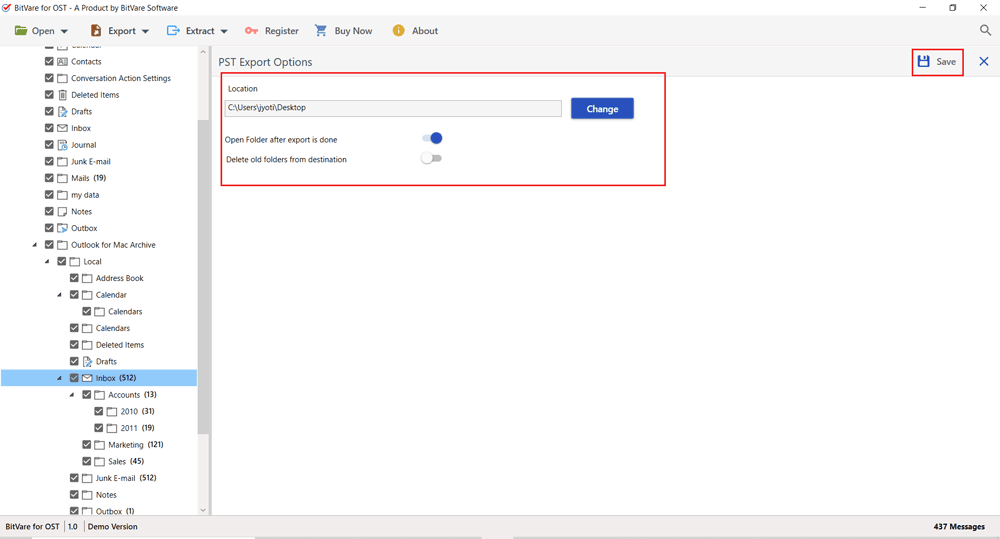
- Provide login of your Office 365 account. And other details of desired options. Click on Save button to start the process.
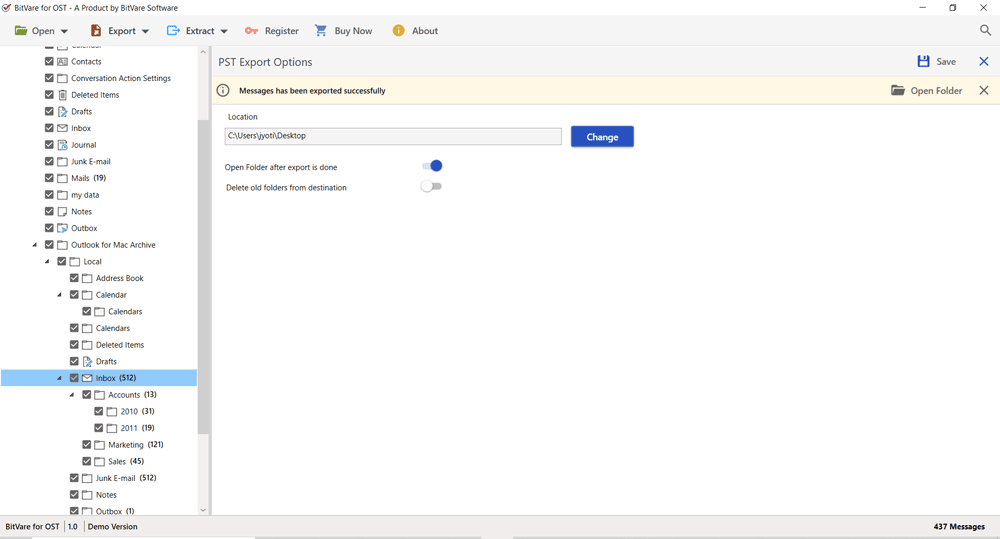
- Migration will start & complete it with a successful message.
Conclusion
In this write-up, we explained two solutions and you can try both of them to learn how to import an OST file into Outlook 365 because second method also allows uploading 10 emails from OST file to Office 365 without any charge. So, clear your all doubt and choose any solution which suits you.