Free Methods to Convert OLM to PST – Bridge Guide

In the Windows OS environment, you can make use of MS Outlook and in the Mac OS environment, you can use Outlook for Mac. Here is the Free Methods to Convert OLM to PST File – Bridge Guide.
Regarding features, both applications have the same, and the mailbox panel shows the same tree structure of folders. The major difference between both applications is their data type. Windows MS Outlook creates a PST and Outlook for Mac has OLM for it.
OLM Vs PST File
Outlook for Windows supports two file formats – PST and OST. PST keeps data when Outlook is POP3 configured (however, OST stores data when Outlook users work in offline with an Exchange Server account). Meanwhile, Mac Outlook stores data in OLM file format. These files include all the mailbox items like emails, notes, contacts, tasks, calendars, events, notes, journals, etc.
Outlook for Mac Vs. Outlook for Windows
To know the difference between Outlook and Outlook for Mac, we will be comparing Outlook for Mac and Outlook for Windows 2016 respectively. Following are some of the important differences:
Mail: Mac Outlook deficits the following benefits from its Windows version:
- Not allowed to create tables.
- Educing a message is not conceivable.
- Saving messages as HTML/TXT is not conceivable.
- Not possible to customization folders.
- Send emails defaults not counted in.
- Not thinkable to set a folder retaining program.
- add posts is not available.
- Finding related messages is not available.
- Sending messages as a distribution list is not available.
Calendar and Contacts: Outlook for Mac lacks calendar features:
- SharePoint calendars and lists is not available
- Sharing of calendars or contacts with the outside user is not conceivable.
- Not possible to manage the Exchange server distribution list.
- Synchronization of contacts with Exchange Server is not conceivable.
Tasks, Protocols: Outlook for Mac lacks features from its Windows versions:
- Not conceivable to assign tasks to any users.
- Cannot generate To-do items.
- SMTP and EAS protocols are not there.
- Connection with Exchange over HTTP is not conceivable.
Exchange: Outlook for Mac absences the features from its Windows version:
- Access to quota details and mailbox size is not available
- Mail and policy instructions are not there
Reasons for OLM to PST Migration
The common reasons that required OLM to PST Migration:
- When users need to move from Mac to windows system, so they need to move Outlook for Mac to Microsoft Outlook that is why OLM to PST conversion is required.
- To access Outlook data from both environments
- When someone is using a Windows pc at the office or home and needs to access his mail on Outlook for Mac, he must need to convert OLM to PST.
Free Methods to Convert OLM to PST File
Perform OLM to PST Conversion Manually
Know the Free Methods to Convert OLM to PST. The manual process has four main steps to be performed
Step 1 – Create an IMAP account
- Go to Gmail or any webmail and click on Settings
- Under the Settings, go to the Forwarding and POP/IMAP tab
- Go to the status of IMAP; if it is unenabled, then you need to enable the IMAP and finally Save changes.
Step 2 – Configure Mac Outlook with an IMAP account
- Run Outlook for Mac and go to the “Tool” option and select the Accounts.
- Enter your email id with the right password, and other required details.
- Now, Enter the IMAP server and select the SSL connection with the SMTP server and 465 as a port number and finally click on the Add Account.
Step 3 – Export Mac Outlook emails into the IMAP account.
- Now, open Outlook for Mac after that select the item you need to transfer.
- Right-click on the folder >> Move> Copy to the Folder.
- Find the name of the IMAP folder and select Copy.
- Next, click on the Send/Receive button to update, and you have all OLM emails in the IMAP account.
Step – 4 Configure the Microsoft Outlooks With the same IMAP account
- Go to the Control Panel >> Mail >>Email Accounts >> click on New
- Select the Manually configure settings and click on Next.
- Pick the IMAP/POP settings and then click on Next.
- Provide the IMAP account details and server details of Incoming and Outgoing, then click on the More Settings.
- Go to the Advanced tab, put the 993-port number and the IMAP server, and select SSL connection.
- Provide the SMTP server port number as 465 and choose the SSL connection and click on OK.
- Click on the Next button. Now it will take a few minutes to finish the process.
So, the Outlook for Mac email data is now in MS Outlook, after that you can export it to a PST if obligatory (by using the feature of Outlook).
A Direct Method to Convert OLM to PST File
BitVare has an amazing tool for OLM to PST Conversion, i.e., BitVare OLM Converter. It is a complete program and provides the OLM files to PST Outlook conversion. You can import directly OLM to IMAP Server, Apple Mail, Office 365, and Exchange Server. It is the easiest way to convert OLM to PST and is compatible with all versions of Outlook for Mac, and MS Outlook.

Step by Step Process of OLM to PST Conversion
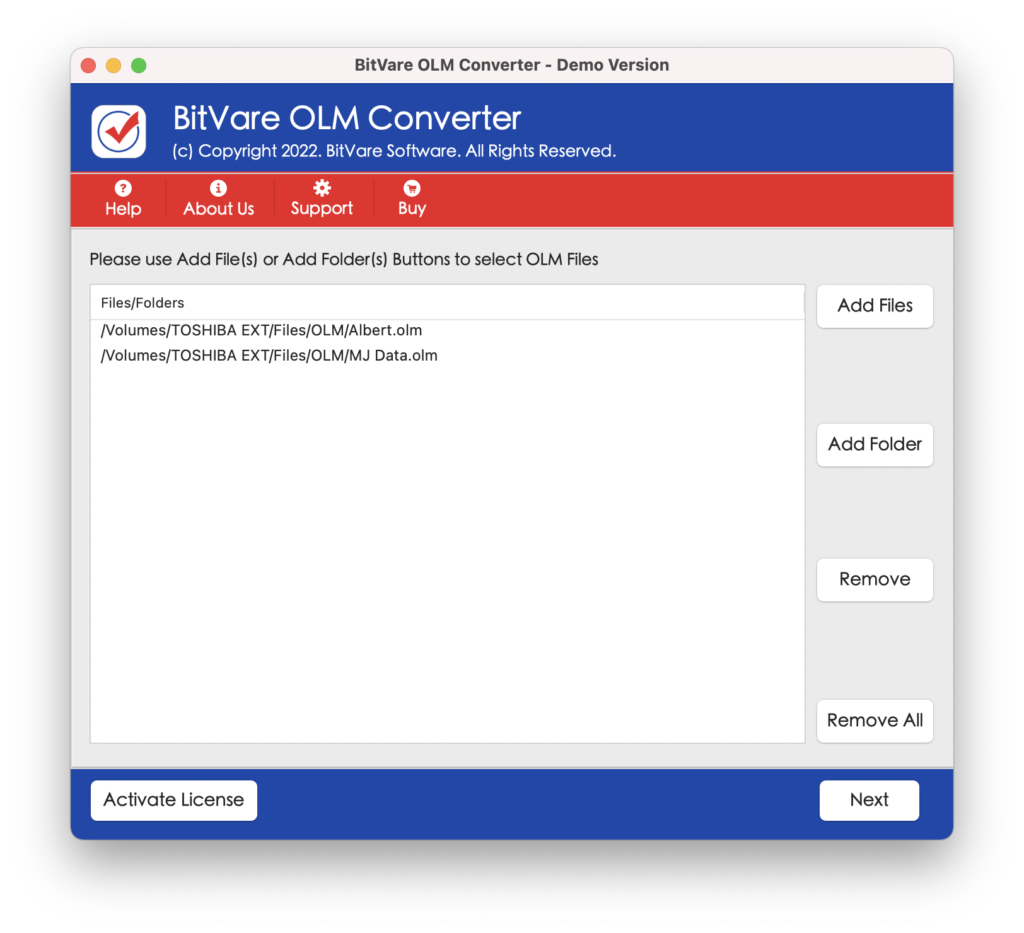
- Download and install the BitVare OLM Converter and upload the folder having OLM files
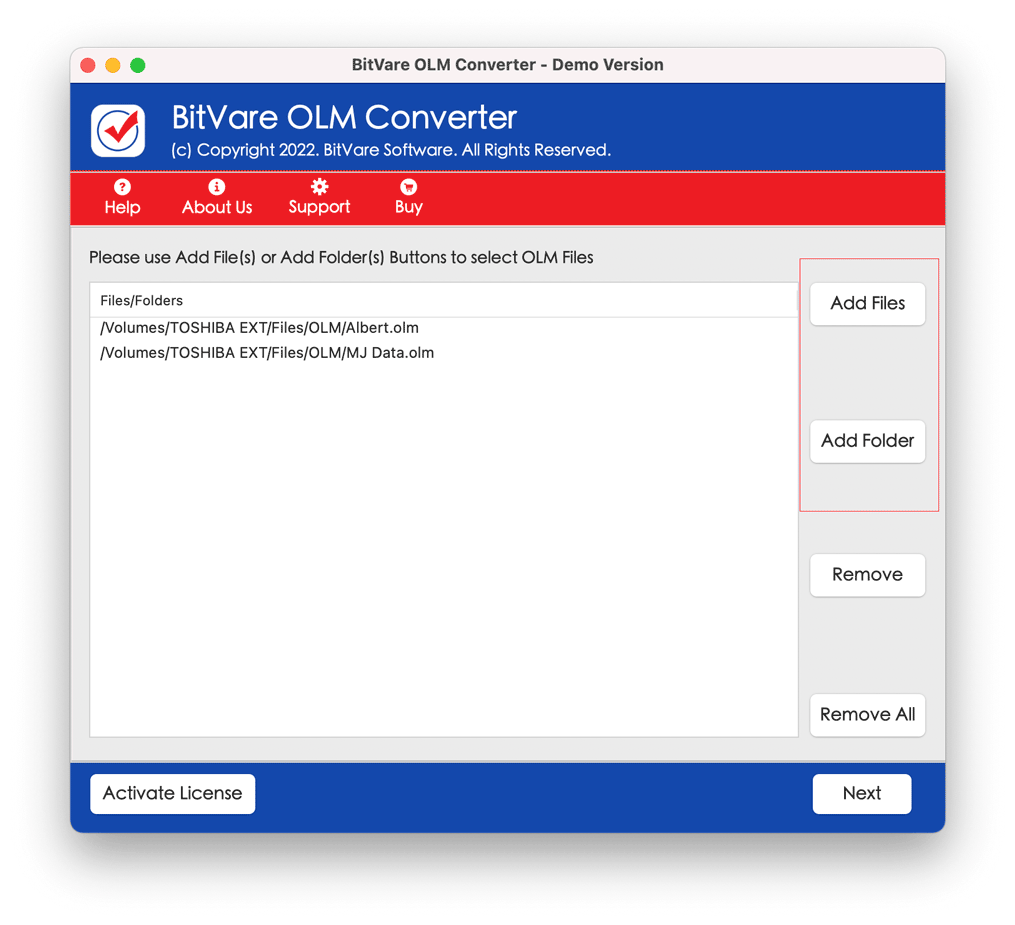
- Select the required folders you want to convert
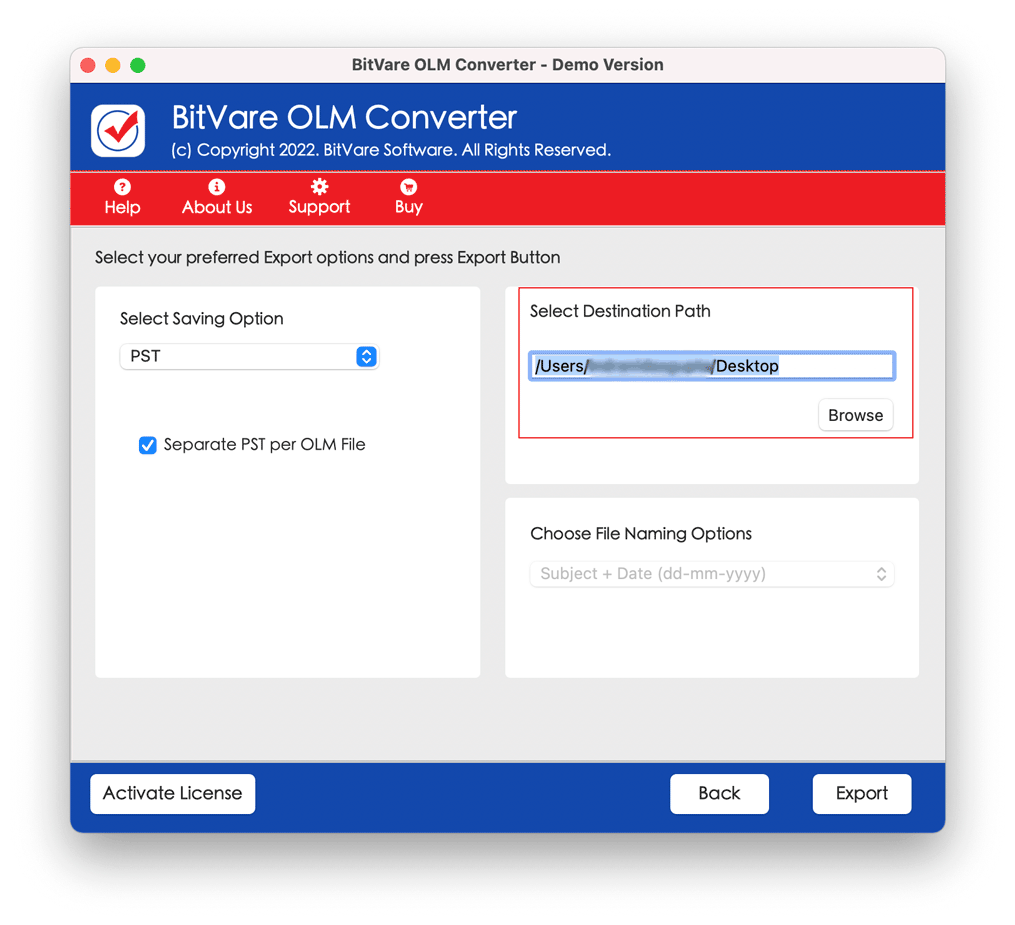
- Select the PST format from the provided list and click on Next.

- Apply the filters if needed
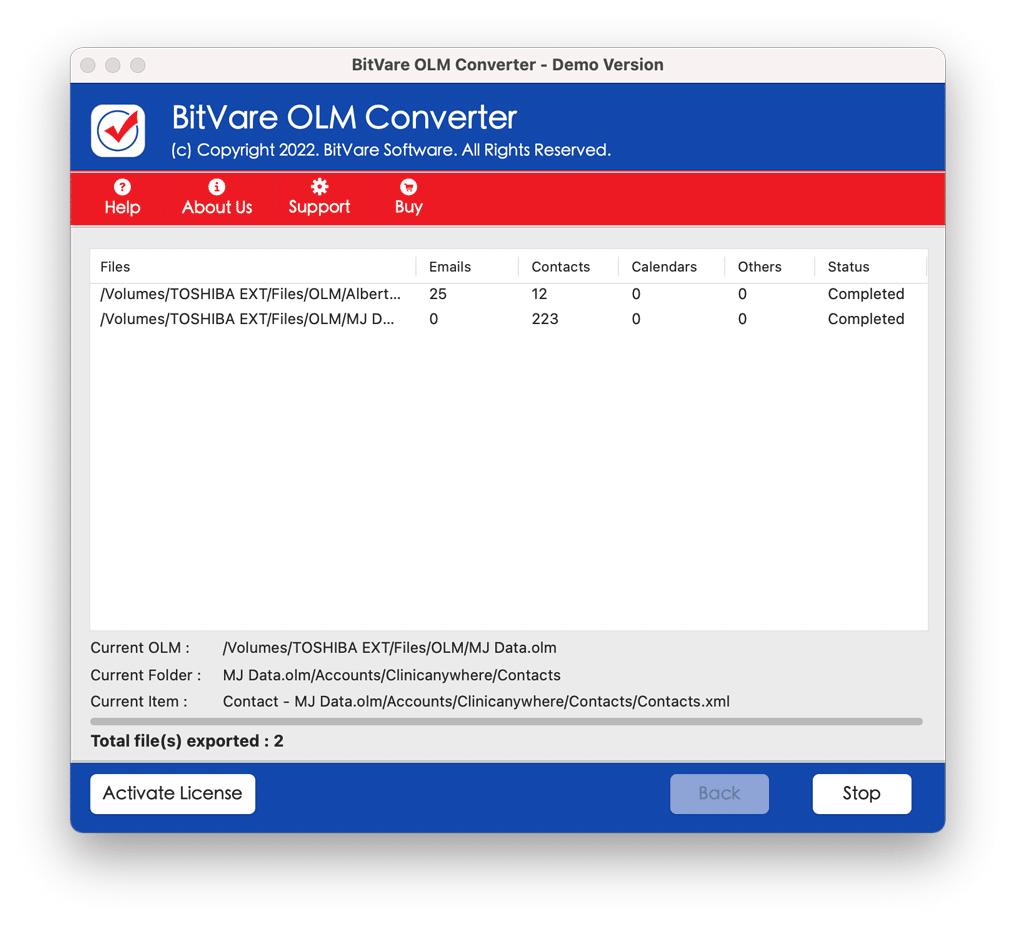
- Now, provide the location to save the output file and click on the export option.
- And your OLM files are efficaciously changed into PST.
Conclusion
Microsoft designed MS Outlook and Mac Outlook for dealing with Exchange Server accounts in macOS and Windows separately. And no direct way available to convert OLM files to PST and BitVare OLM Converter turns out to be a bridge for it. It is a highly recommended tool to convert multiple OLM files.