How to Export OST files in Mac or Windows - Working Guide
Before following the steps, download the OST Converter on Mac or Windows OS, Then follow the given complete working steps.
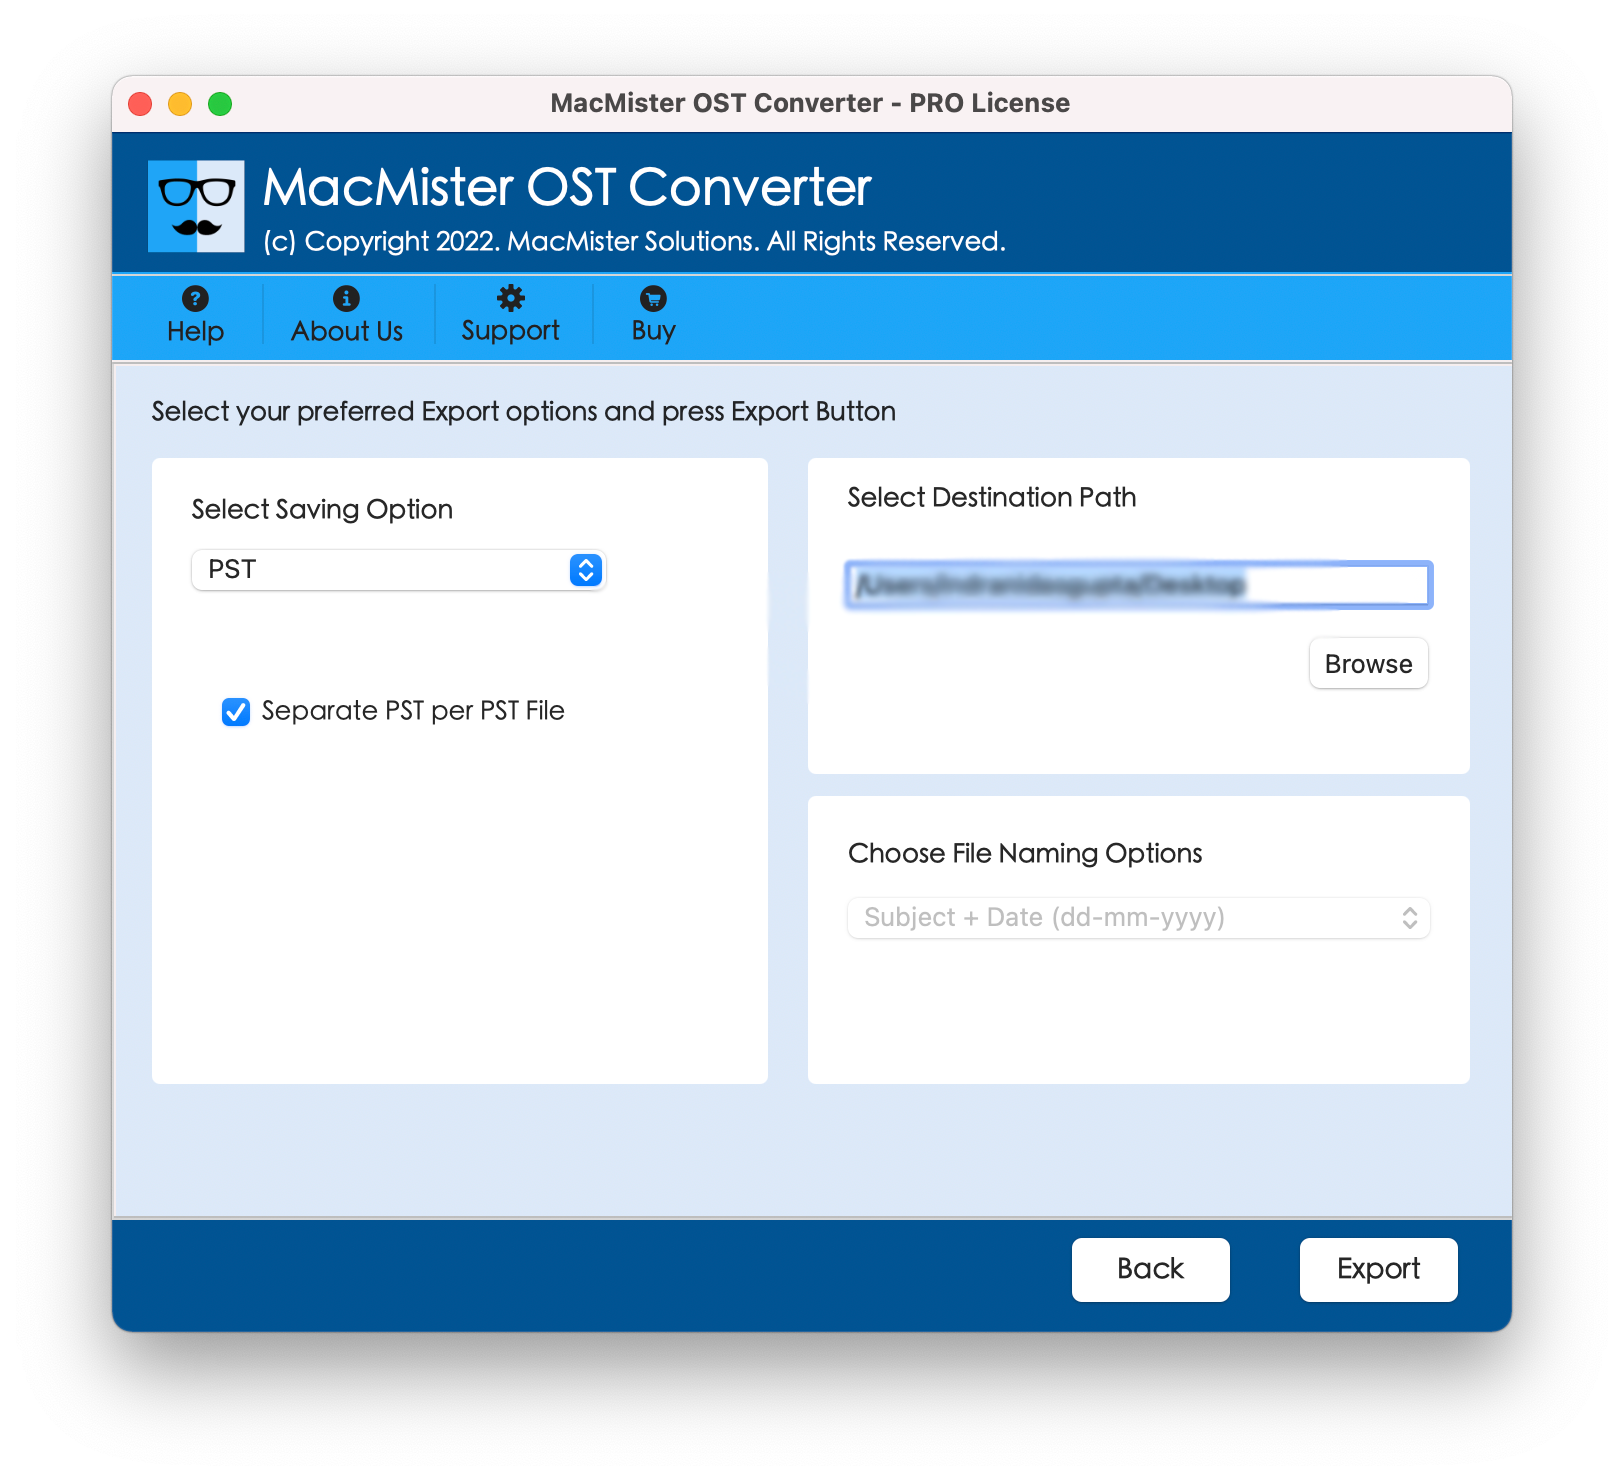
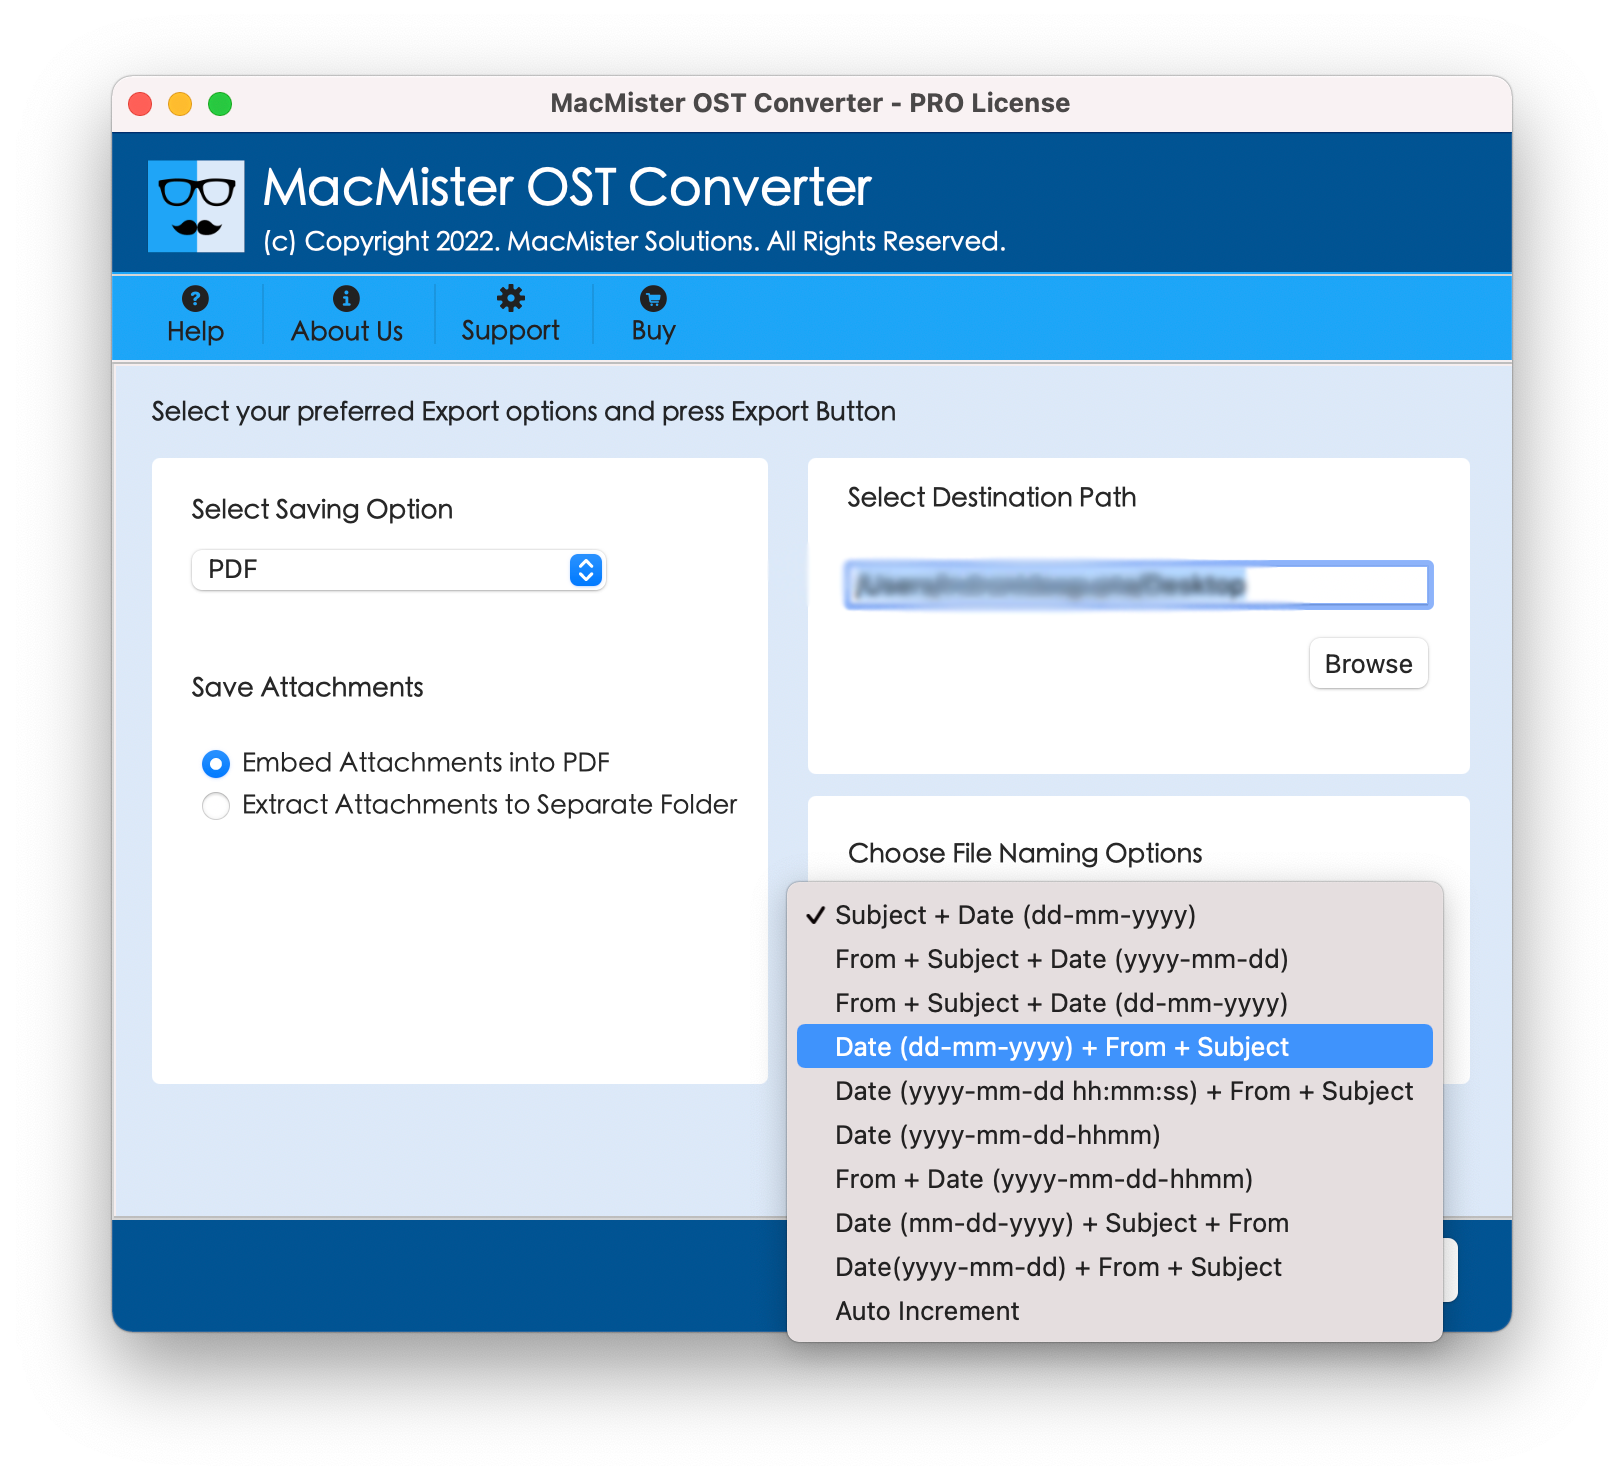
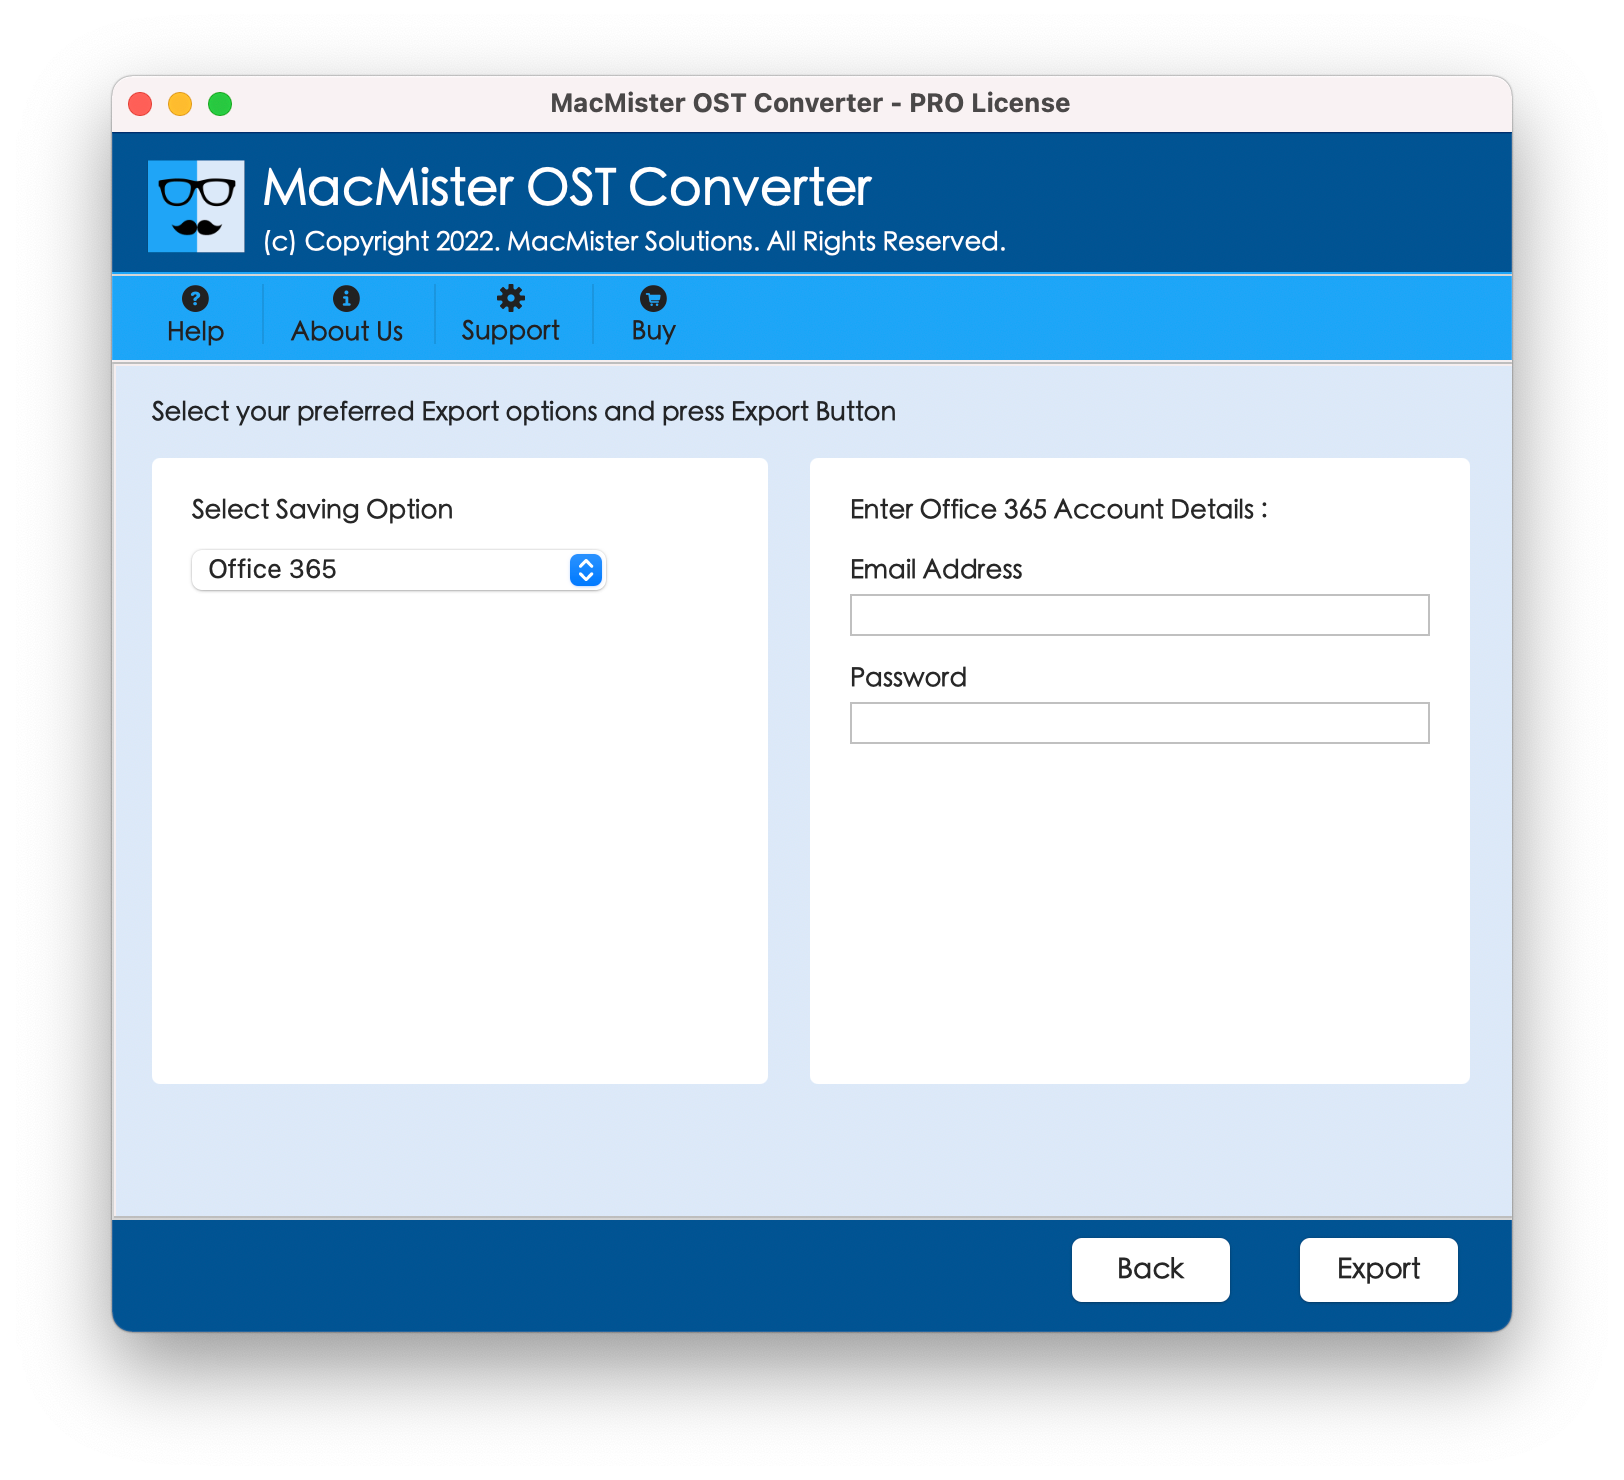
04 Choose other desired options and click on Export.
If you choose PST then select destination path and other options.
If you choose PDF then choose destination path, attachments options, file naming options.
If you choose any webmail or server option like Office 365 then fill login details.
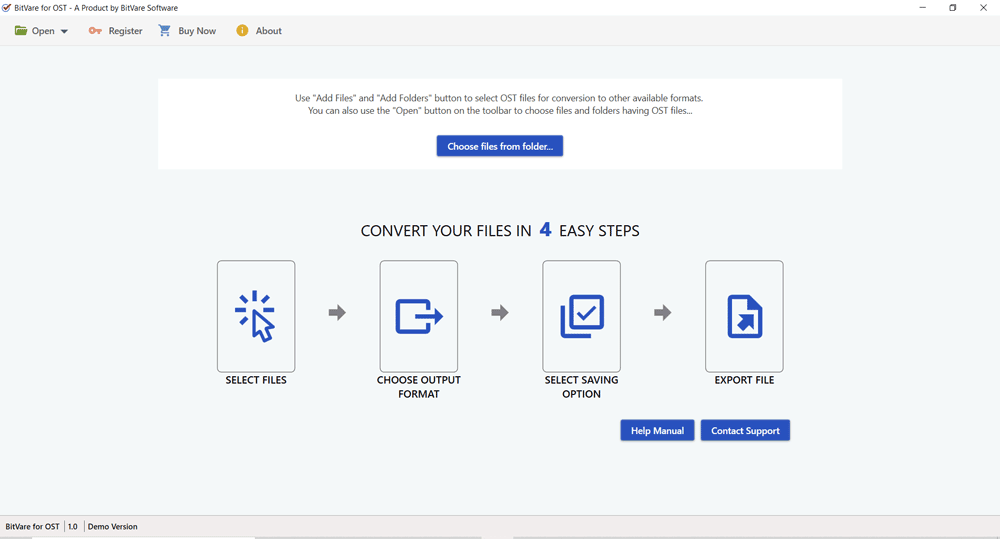
01 Get the BitVare for OST Tool
First, you need to download the software on your Windows machine and open it properly.
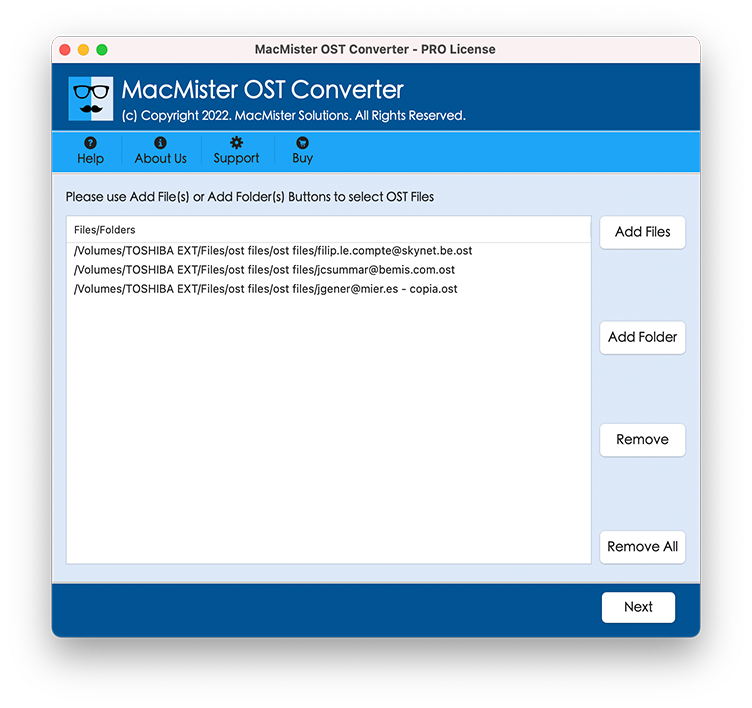
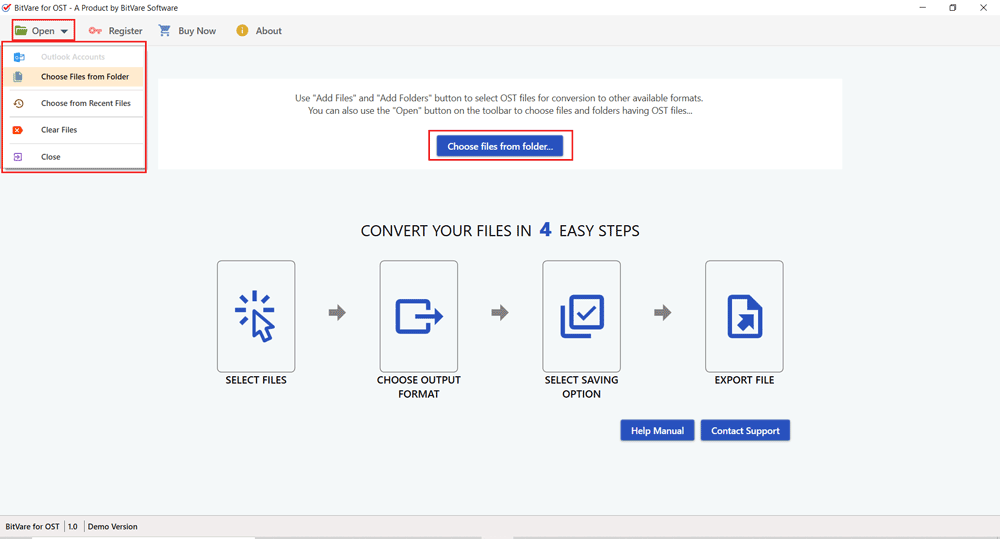
02 Add OST files for Conversion
Now, import Outlook offline OST files that you need to move into another format. You can import the files by following options.
Click on Open option shown in the menu bar that lists multiple options:
Choose Files from Folder – Use this option for importing multiple OST files at once time. So, save all the files into a single OST folder and then, import that particular folder directly.
Choose from Recent Files – Previously, if you had selected PST email file and now one more time you need to select the same file for doing another migration, then use this option.
Choose Files from Folder – This option appears on the first screen of the software. From the first screen, you can directly click on the option, it helps to browse location and select OST file from source location.
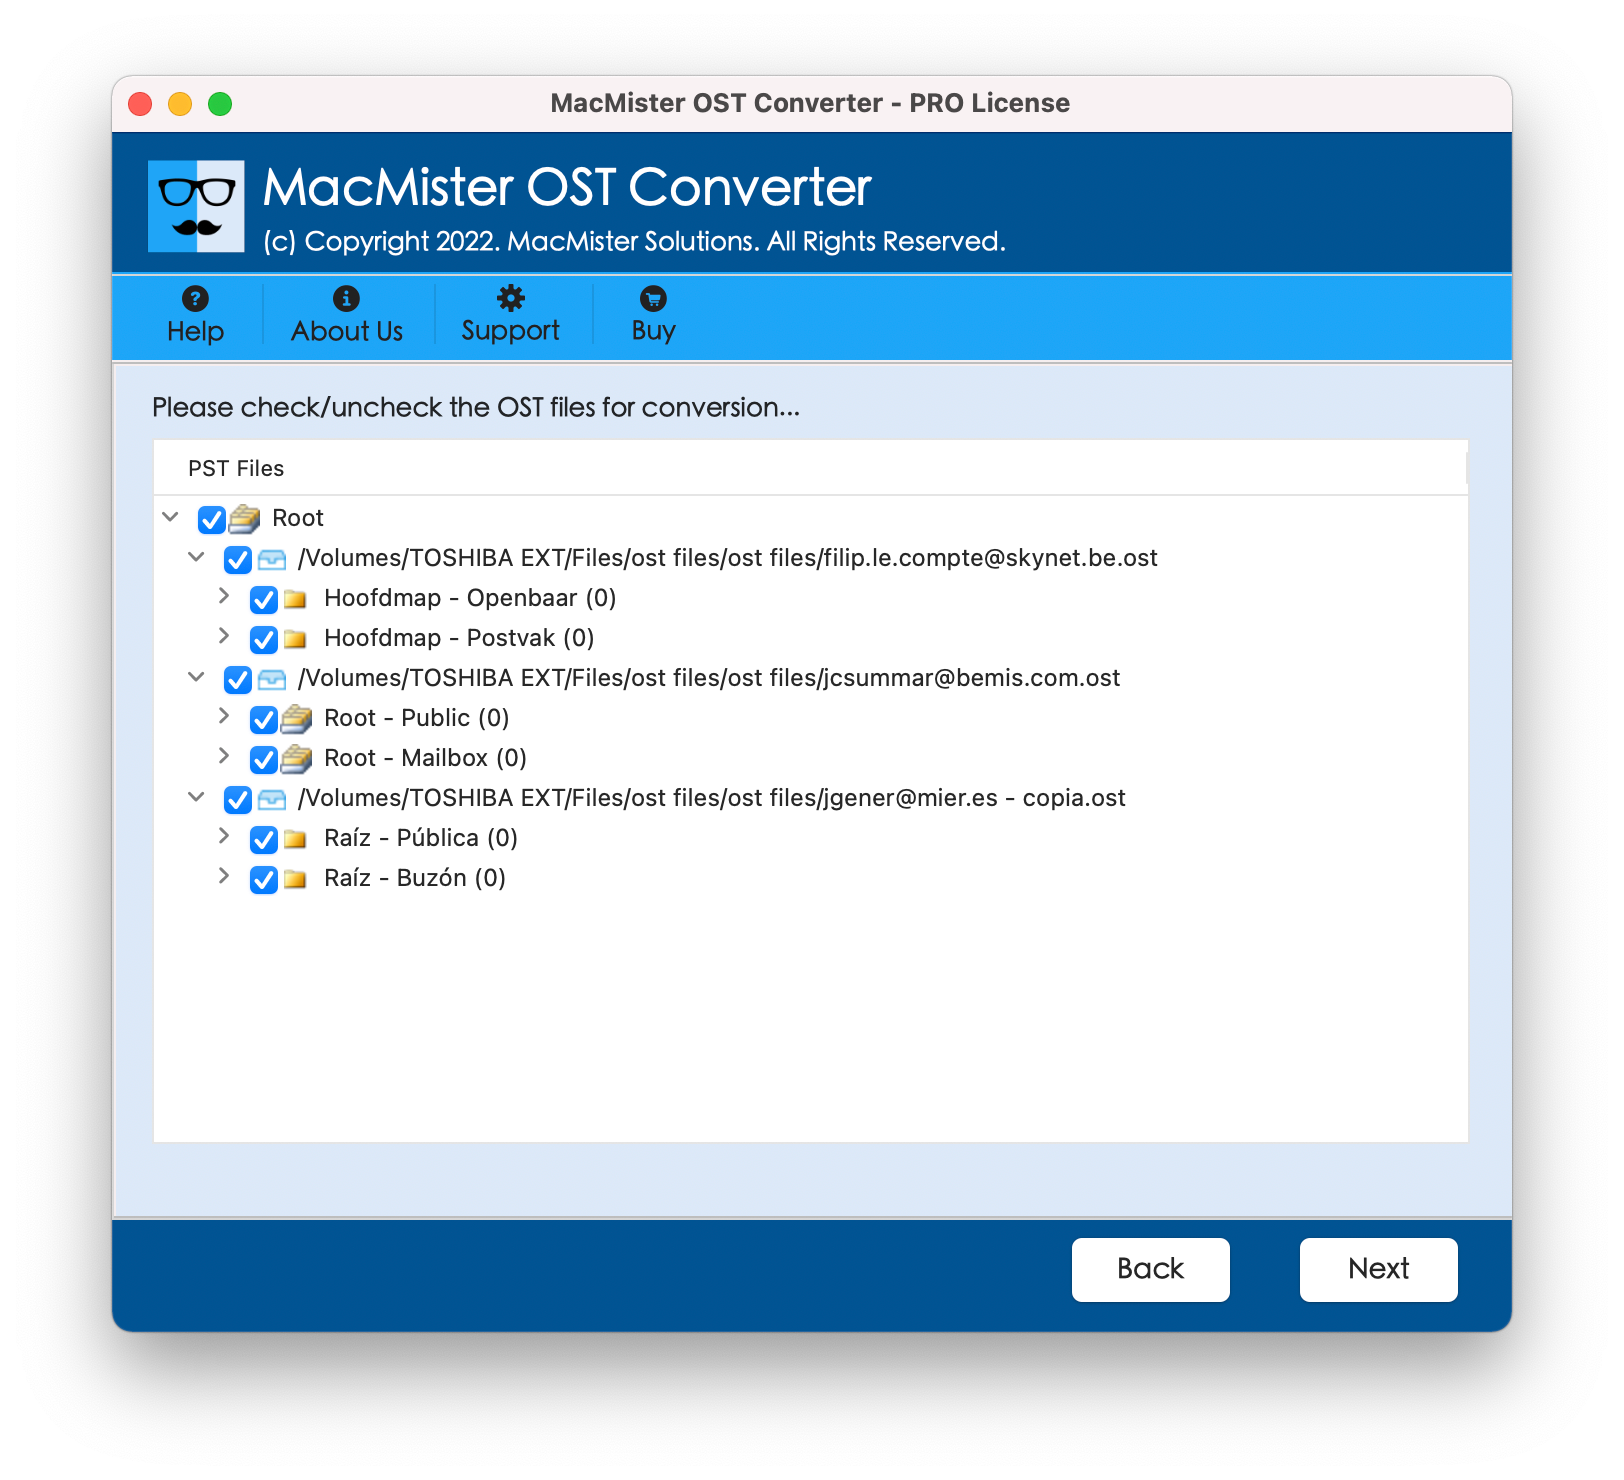
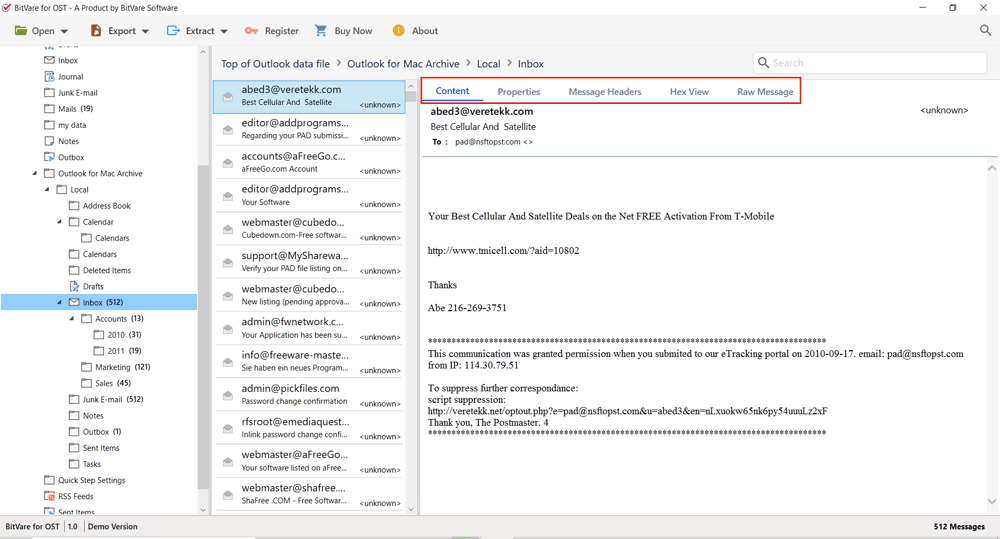
03 Now, Collect Multiple Preview Options & View OST file Completely .
After adding the OST data files, the software provides the facility of different preview options that is given below:
Content – Use this option for getting the preview of emails, address books, calendar items & others items data properly with all details.
Properties – By using this preview option, users can read OST files data with the complete properties – ID, Description, and Value.
Message Header – With this option, all email data files display in binary form.
Hex View – This option facilitates the preview of mail detail in HTML form.
Raw Message – It display only the message header information in HTML format.
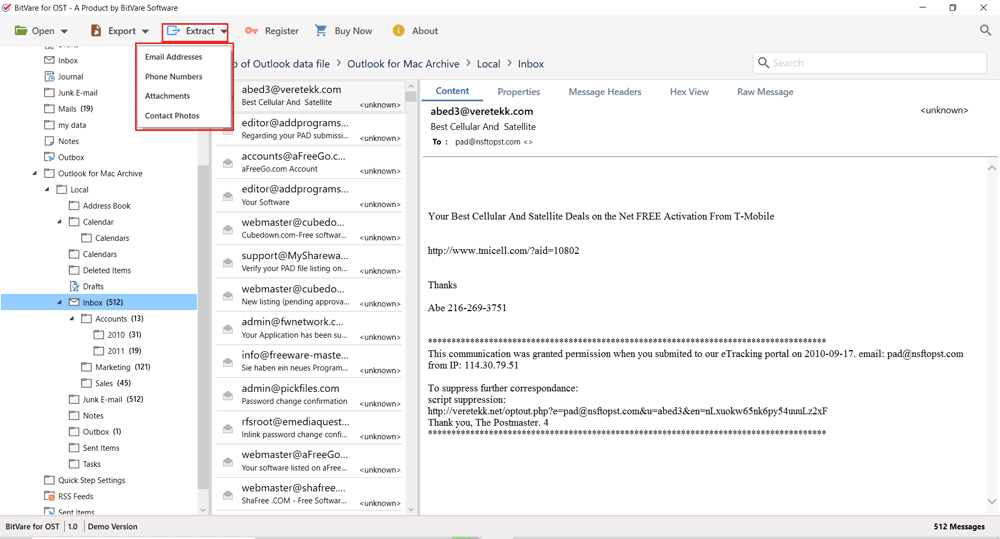
04 Click on the Extract Option
Under this option, you will get some more advanced options for data extraction i.e. Email Address, Phone Numbers, Attachments, and Contact Photos. Use these options as per the requirement.
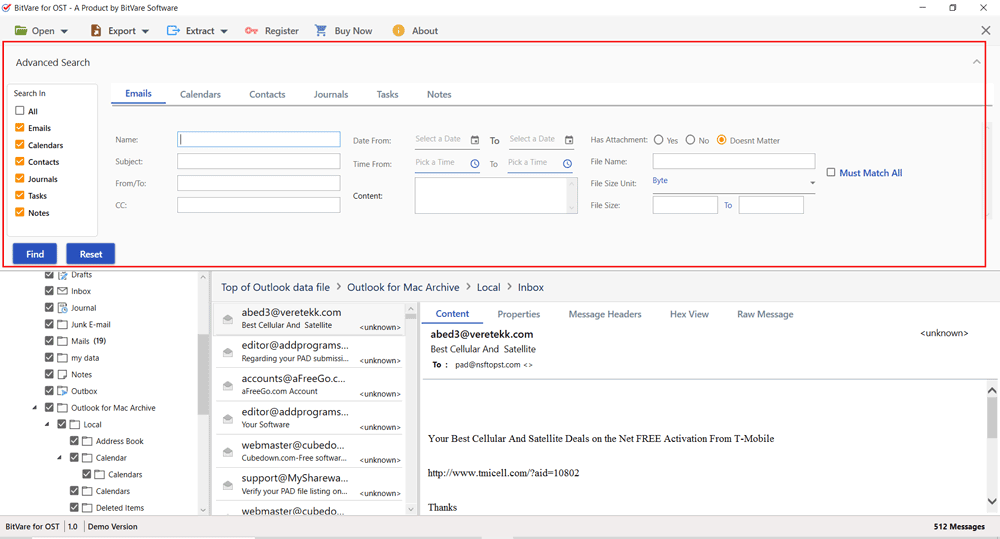
05 Avail Different Type of Filters
Go to the search icon that is available on the right side of the software screen. It opens Advance Search section that includes multiple filters.
All – It shows the filters with date range.
Emails – gives you to migrate data with To, Bcc, Cc, Subject, Date, Time, Content, etc. fiters
Calendars – In this filter, you can save calendars by setting -location, subject, notes, Date, File Size, etc.
Contacts – It supports to get data for importing by Company, Department, Full Name, Job Title, Email, Website, etc.
Journals – This filter will help out to collect data with Subject, Keyword, Entry Type, Company, Notes, etc.
Tasks – The tasks filter is capable to move data by setting of Status, Subject, Owner, Priority, etc.
Notes – In this option, performer can import data by setting – Start time from, Notes, etc.
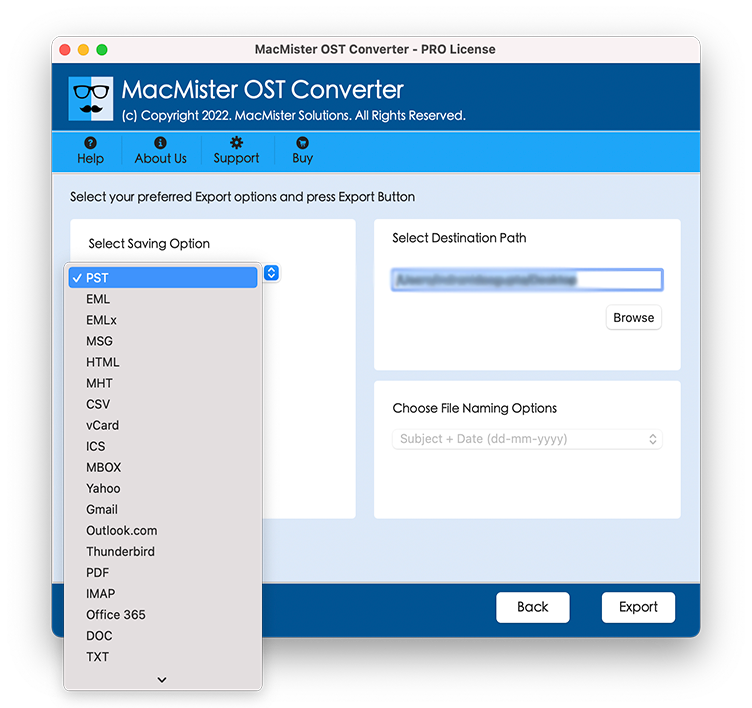
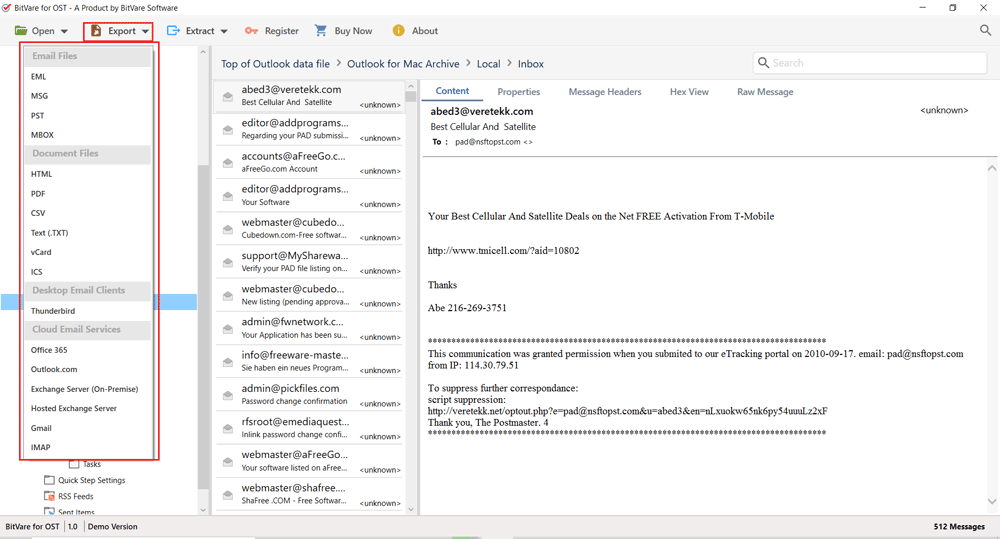
06 Choose Export option from Top Menu Bar
In this section, you can proceed to click export option and choose the output option in which your need to save your OST files.
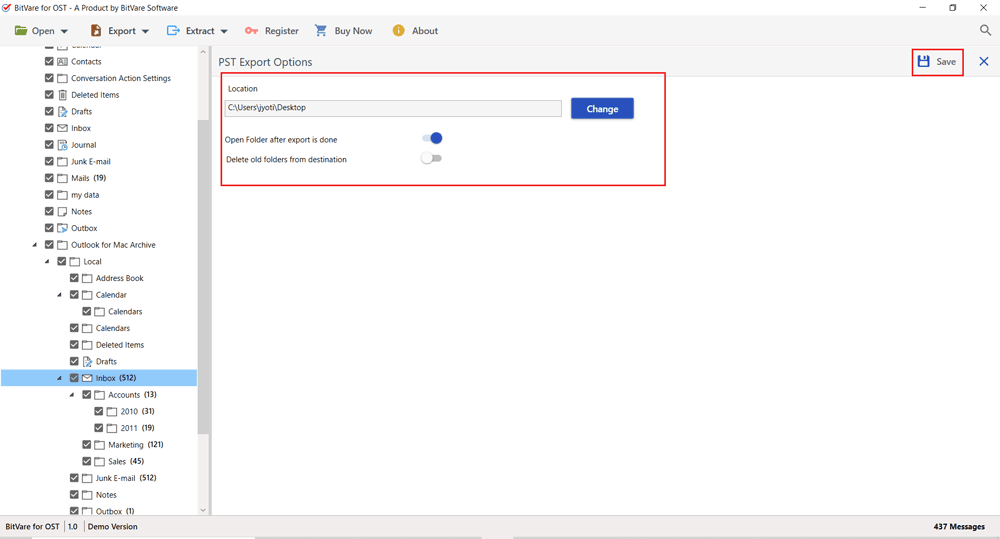
07 Choose other desired options & Hit on the Save button to Starts the Migration
After selecting the output format, avail all the other options like- insert saving path, file naming options, etc. And, quickly jump to click on the save button.
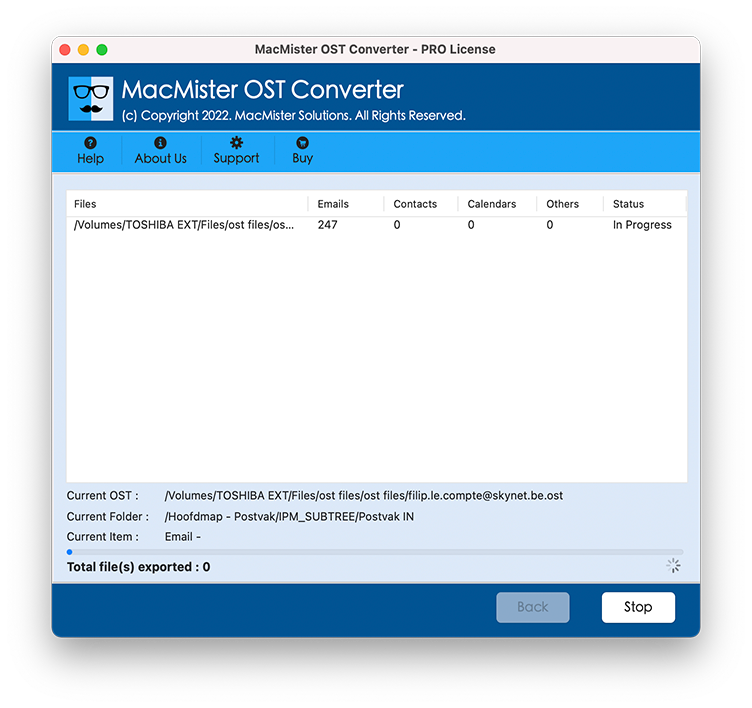
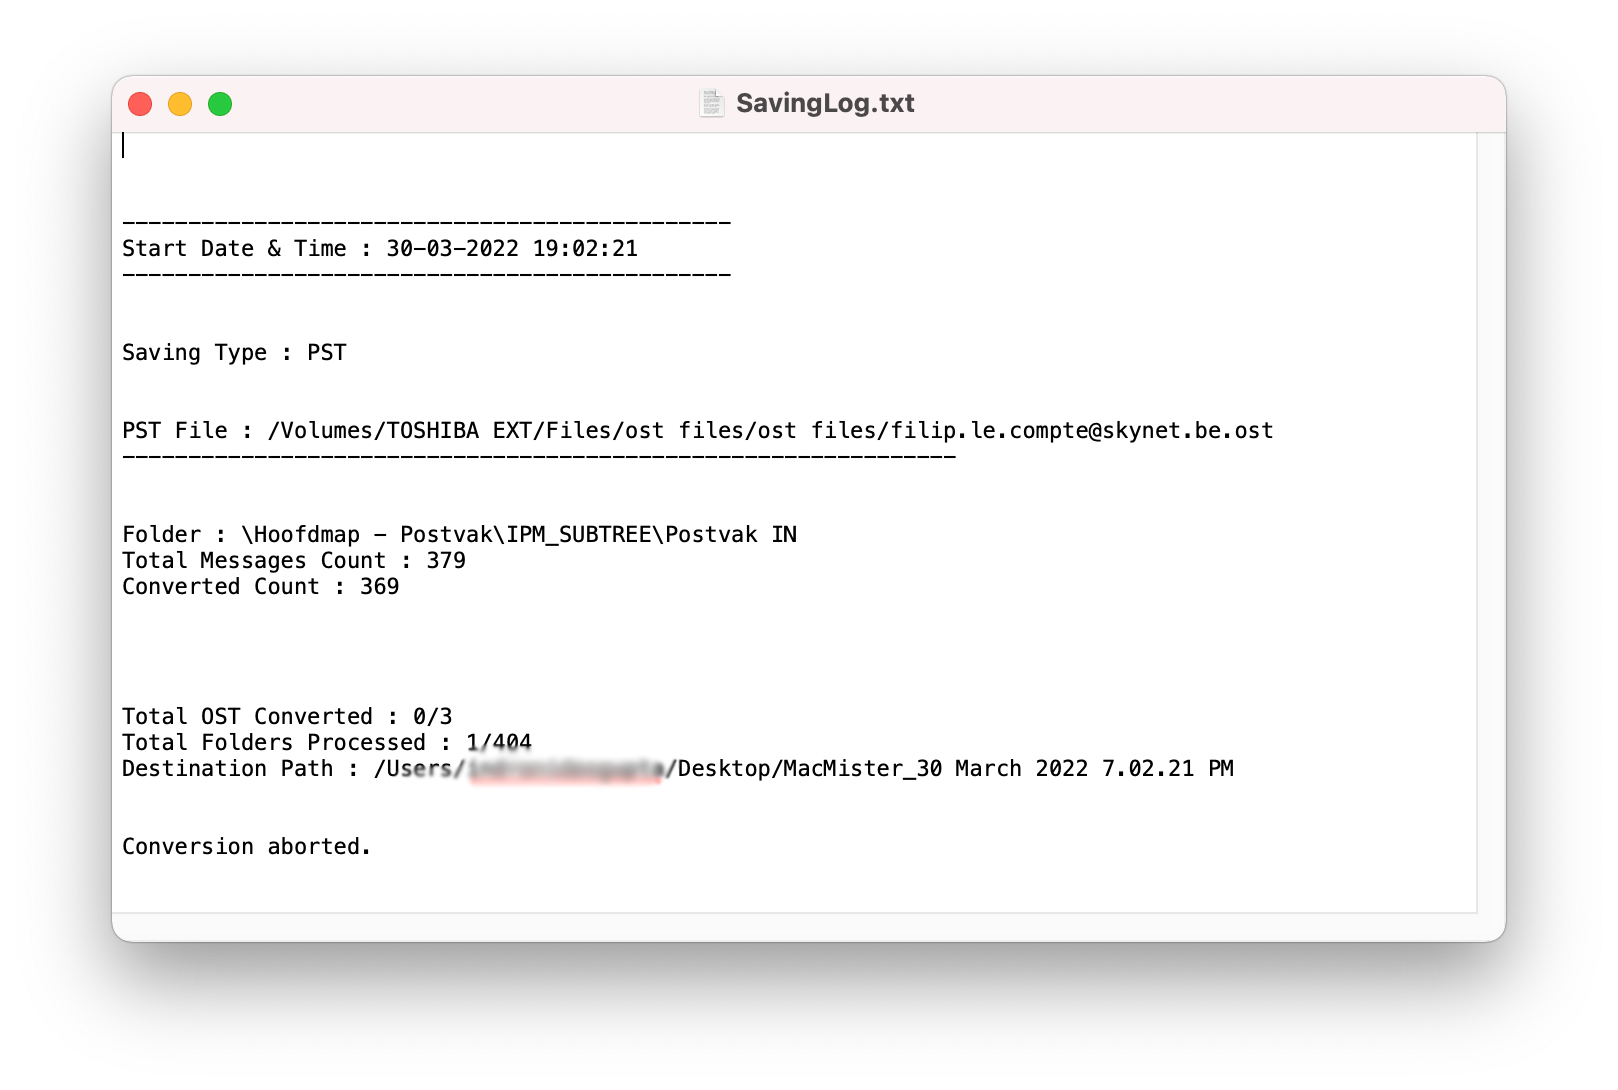
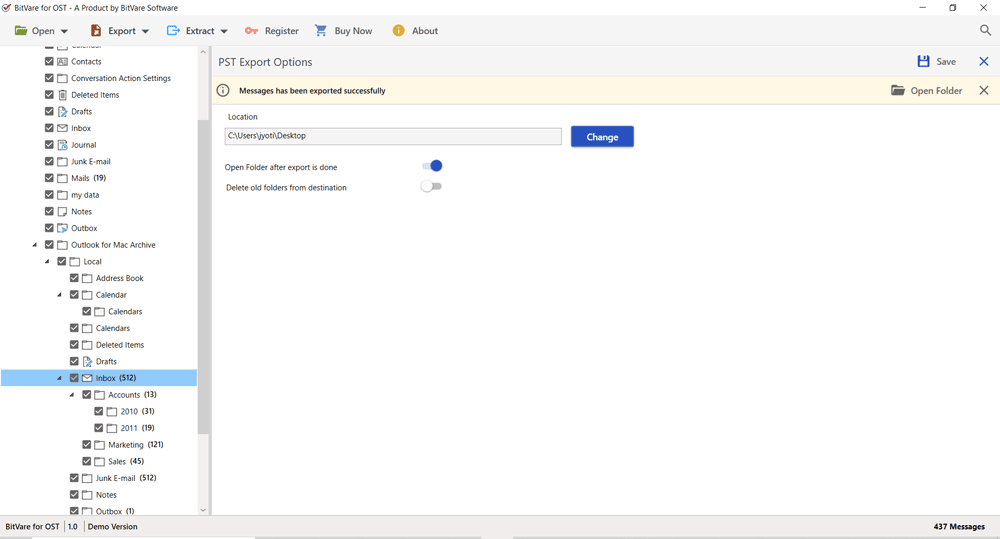
A few minutes later, the process will be ended by showing you a successful message on the software screen i.e. Message has been exported successfully.
Trial Edition that meet your needs
Download free OST Converter for Mac & Windows that can be tried to check its properties.
Free Download Free Download *Download demo function of Windows & Mac OST Converter for Free to export first 10-25 emails from each selected OST file into desired file format.