How to Fix System Thread Exception Not Handled Error in Windows 10 & 11 or below
Opening Windows 11 or 10, you may get an unneeded blue screen with a line, “System Thread Not Handled.” It is a general issue and arises on beginning of the system or during the rebooting process.
In this write up, we shall describe few troubleshooting ways to know how to fix system thread exception not handled in Windows 11, 10, 8.1 or below –
System Exception Error Reasons –
Before explaining the solution, we will focus on the reasons for this error –
- Driver malware problem
- Incompatible / Outdated driver
- Non-compatibility of Driver with Windows OS.
- System memory error
How to Fix System Thread exception Error
There are many solutions to fix system thread exception not handled Windows Error –
Method 1 – Boot in Safe Mode
It is basically the most initial hit & trial way to fix the problem. Using it, you can boot the computer in safe mode with different ways and it depends on whether user can sign in to the system or not.
1. Boot in Safe Mode by Settings
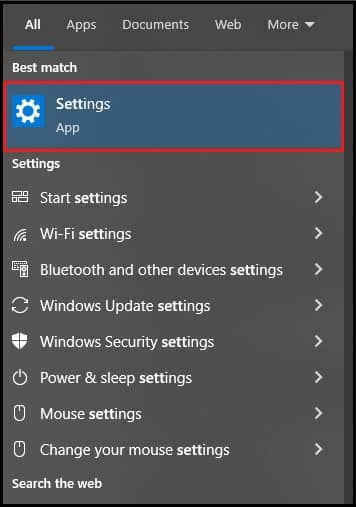
- Go with Settings from the Start option.
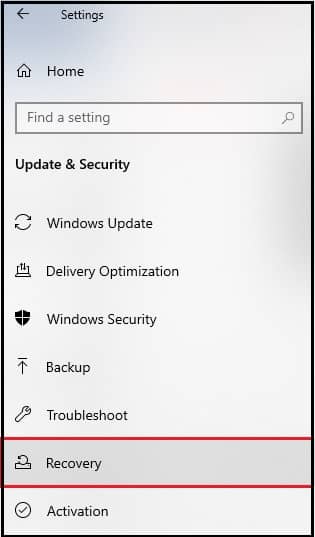
- Choose Update & Security and then Select Recovery option
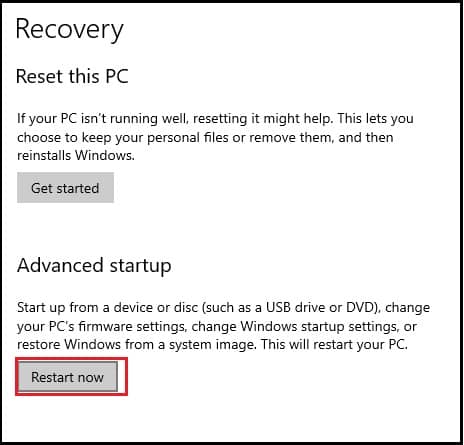
- Now choose Restart Now button under the Advanced start-up option
- Then select an option screen will display – Choose Troubleshoot >> Advanced options >> Start-up Settings. Click on the Restart button.
- As system reboots, click on F5 for booting the system in safe mode by Networking.
Boot into Safe mode with Restart
- Keep holding the shift key & power button. Then choose Restart button.
- As your Computer restarts, select option screen display.
- Choose Troubleshoot >> Advanced options & Start-up Settings. Hit on restart button.
- As machine reboots, press F5 for booting the PC in safe mode with Networking.
- Boot in Safe Mode without Log -in
- Keep the power button for few seconds (10 sec.) for switching off the PC.
- Again, press power button.
- As the system starts, there is a manufacturer’s logo – click the power button again for 10 seconds.
- Start your system by power button.
- If it is done accurately the system will boot in Windows Recovery Entertainment.
- Select the option screen will be displayed
- Choose Troubleshoot >> Advanced options >> Startup Settings. Click on the Restart button.
- As the system re-boots, click on F5 for booting the system with Safe mode by networking.
Method 2 – Update / Roll Back Drivers
1.Update Drivers
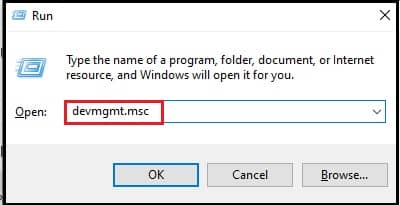
Press Windows key + R & type devmgmt.msc. Click on Enter key.
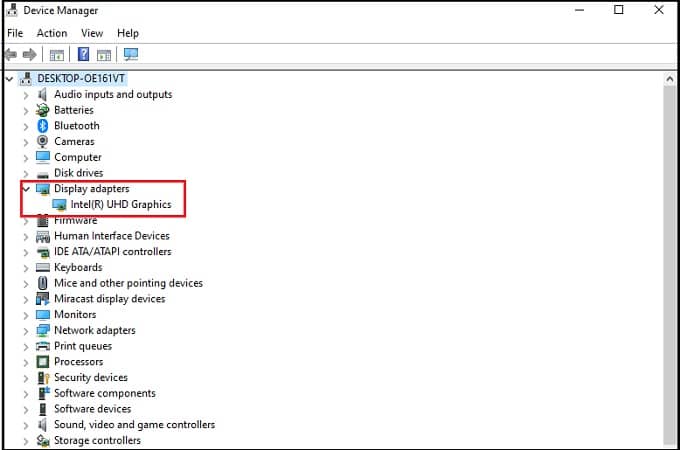
- Select Display Adapters option.
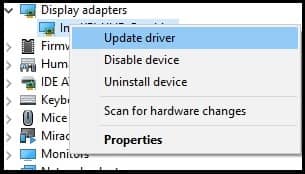
- Right click on the installed driver & Click on Update driver.
- Press on “Search automatically for drivers” option
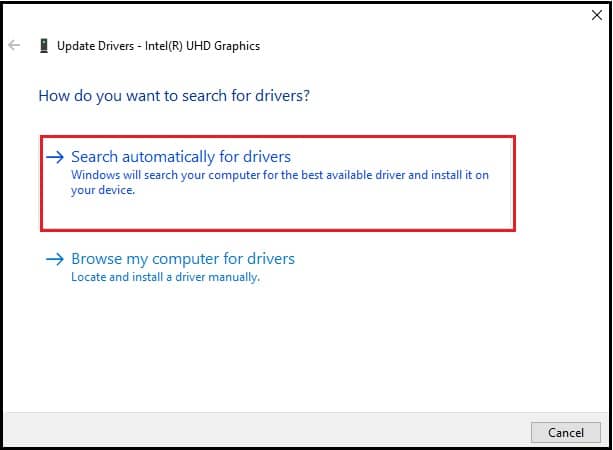
- It will look for the advanced & latest drivers for installing them, if they are not installed.
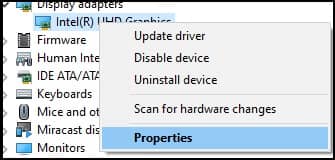
2. Roll Back Drivers
- Right click on the driver & choose Properties from device manager.
- Choose the roll back driver from Driver Tab.
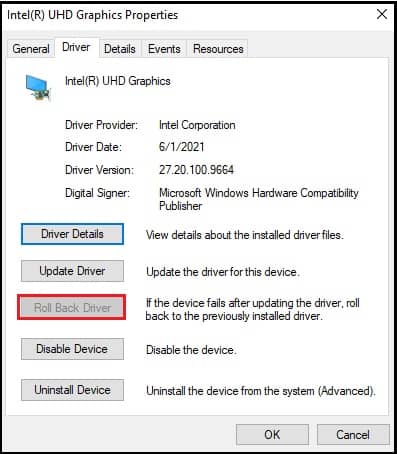
- Windows rolls back to the earlier driver edition.
Uninstall Drivers
- Go with Expand Display Adapters option from Device manager.
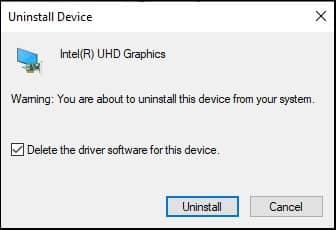
- Choose Uninstall device from the right-click menu.

- Verify Delete driver software for the device & click on Uninstall button.
Method 3 – SFC & DISM to fix the Windows Error
- How to run DISM
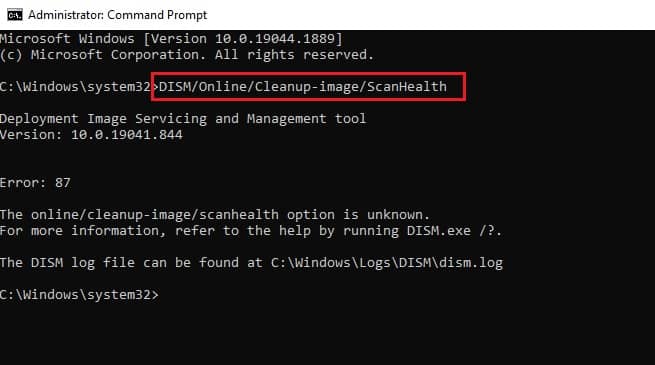
- Open Command Prompt as Administrator

- Type Online/ DISM/ ScanHealth/ Clean-image – click on Enter key.
- As the scanning is over with the Windows, type Online/ Cleanup-image / DISM/ RestoreHealth.
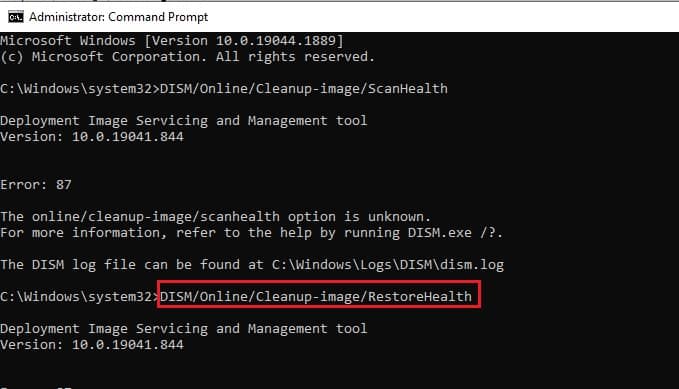
- Windows fixes entire issues during the scanning.
2. How to run SFC
- Go with Command Prompt as an administrator.
- Enter sfc/ scanow.
- It will take time while Windows repairs the entire corrupt data files.
Method 4 – Utilize System Restore
The Windows System Restore function is helpful for fixing multiple issues.
- Search for Recovery in Control Panel.
- Press Open System Restore option.
- Choose a restore option. Click on the next button.
- Click on Finish.
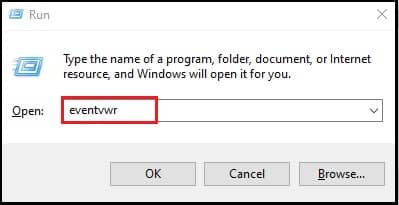
Method 5 – search the Defective Driver
- Click on Windows Key + R & type eventvwr.
- Choose Windows logs menu, expand it & choose Settings.
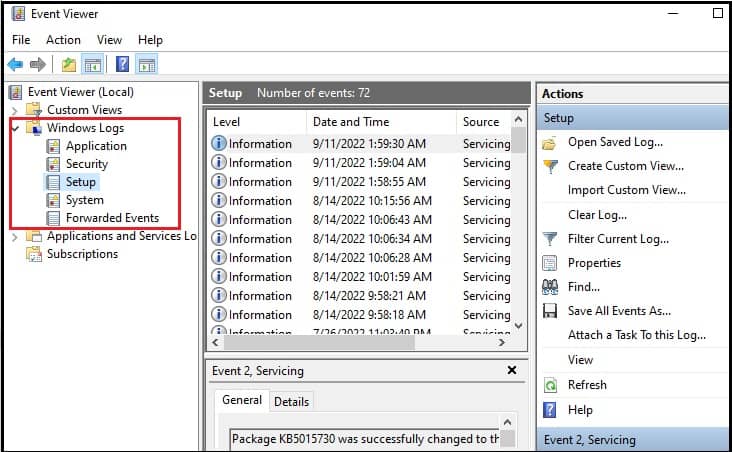
- Find the thread, system-Thread-exception-not-handled. Press on the issue to search the faulty driver.
Method 6 – Raname the Corrupted Driver
- Open File Explorer & choose C drive
- Find for the faulty driver
- Click on F2.
- Replace the filename with .old.
- Press Enter & restart the system.
Conclusion
The above-explained ways are few general ways to fix the Windows 11, 10 & below error, System thread not handled or how to fix code system thread exception not handled, how to solve system thread exception not handled. But the given tips can be accessed to analyse other general blue screen errors of Windows 10. Begin with the 1st method & restart the system.
Go to the next solution if it is not suitable for you. Using the explained write up, you can solve your problem and get solution to fix system thread not handled error.